How to Design Student Planners in Canva: Your Ultimate Guide to an Organised & Inspired School Year
There’s a certain magic to a new academic year. It’s a blank slate, brimming with potential. But let’s be honest, that potential can quickly spiral into a whirlwind of deadlines, lecture notes, and social commitments. The difference between chaos and calm often boils down to one powerful tool: a great planner.
But what if the planners in the shops don’t quite fit your vibe? What if you need a space not just for timetables, but for goal-setting, mood tracking, and a little daily inspiration?
This is where your creativity meets your productivity. This is where you learn to design a student planner that is uniquely, wonderfully yours. And the best part? You can create it all for free in Canva. At www.sunygraphics.co.uk, we see these custom creations all the time, and we’re here to guide you through making one that will not only organise your life but also motivate you every single day.
Why Design Your Own Student Planner? The Power of Personalisation
A generic planner gets the job done. A custom planner transforms it.
-
Boost Motivation & Ownership: When your planner reflects your personality, you’re more likely to use it. It becomes a personal project you’re invested in, not just another school supply.
-
Tailor It to Your Actual Life: Do you need a section for part-time work shifts? A dedicated space for tracking water intake? A grid for meal prepping on a budget? With a custom design, you’re the architect.
-
Reduce Stress & Increase Joy: The act of creating is therapeutic. Flipping through pages you designed yourself can bring a spark of joy to the most hectic of study days.
Your Step-by-Step Guide to Designing in Canva
Ready to create? Follow this beginner-friendly guide to building your ultimate academic companion.
Step 1: Setting Up Your Canvas
-
Log in to Canva: Head to canva.com and create a free account or log in.
-
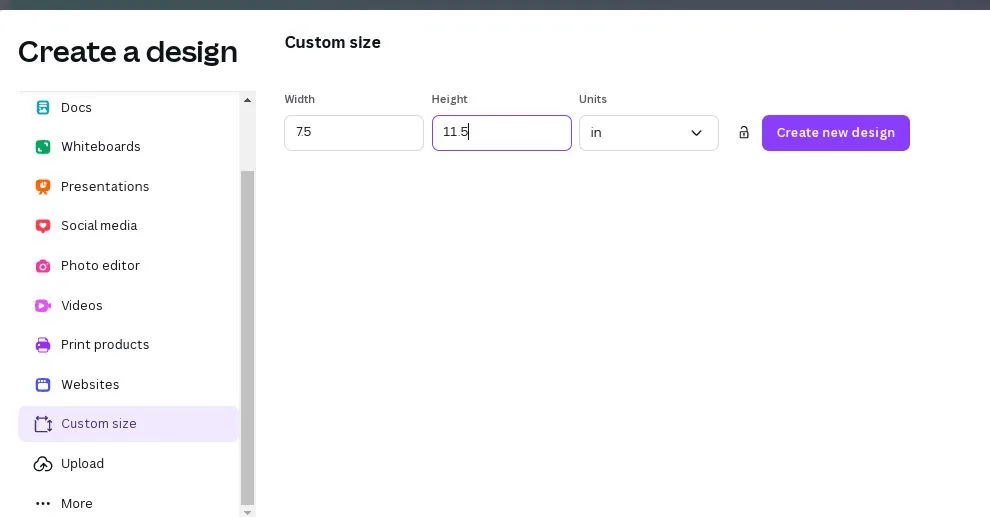
Create a Design: Click the “Create a design” button in the top right.
-
Choose the Perfect Size: For a standard A5 planner (the perfect backpack size), enter a custom size of 210 mm x 148 mm. If you prefer A4, use 210 mm x 297 mm. This ensures a perfect, professional print later on. Pro tip from the experts at www.sunygraphics.co.uk: Always design at 300 DPI resolution for the sharpest print quality.
Step 2: Building Your Core Layout & Structure
Think of this as the skeleton of your planner.
-
The Cover: This is your first impression! Use a high-quality photo you love, an inspiring quote, or a cool graphic design. Let it scream “YOU.”
-
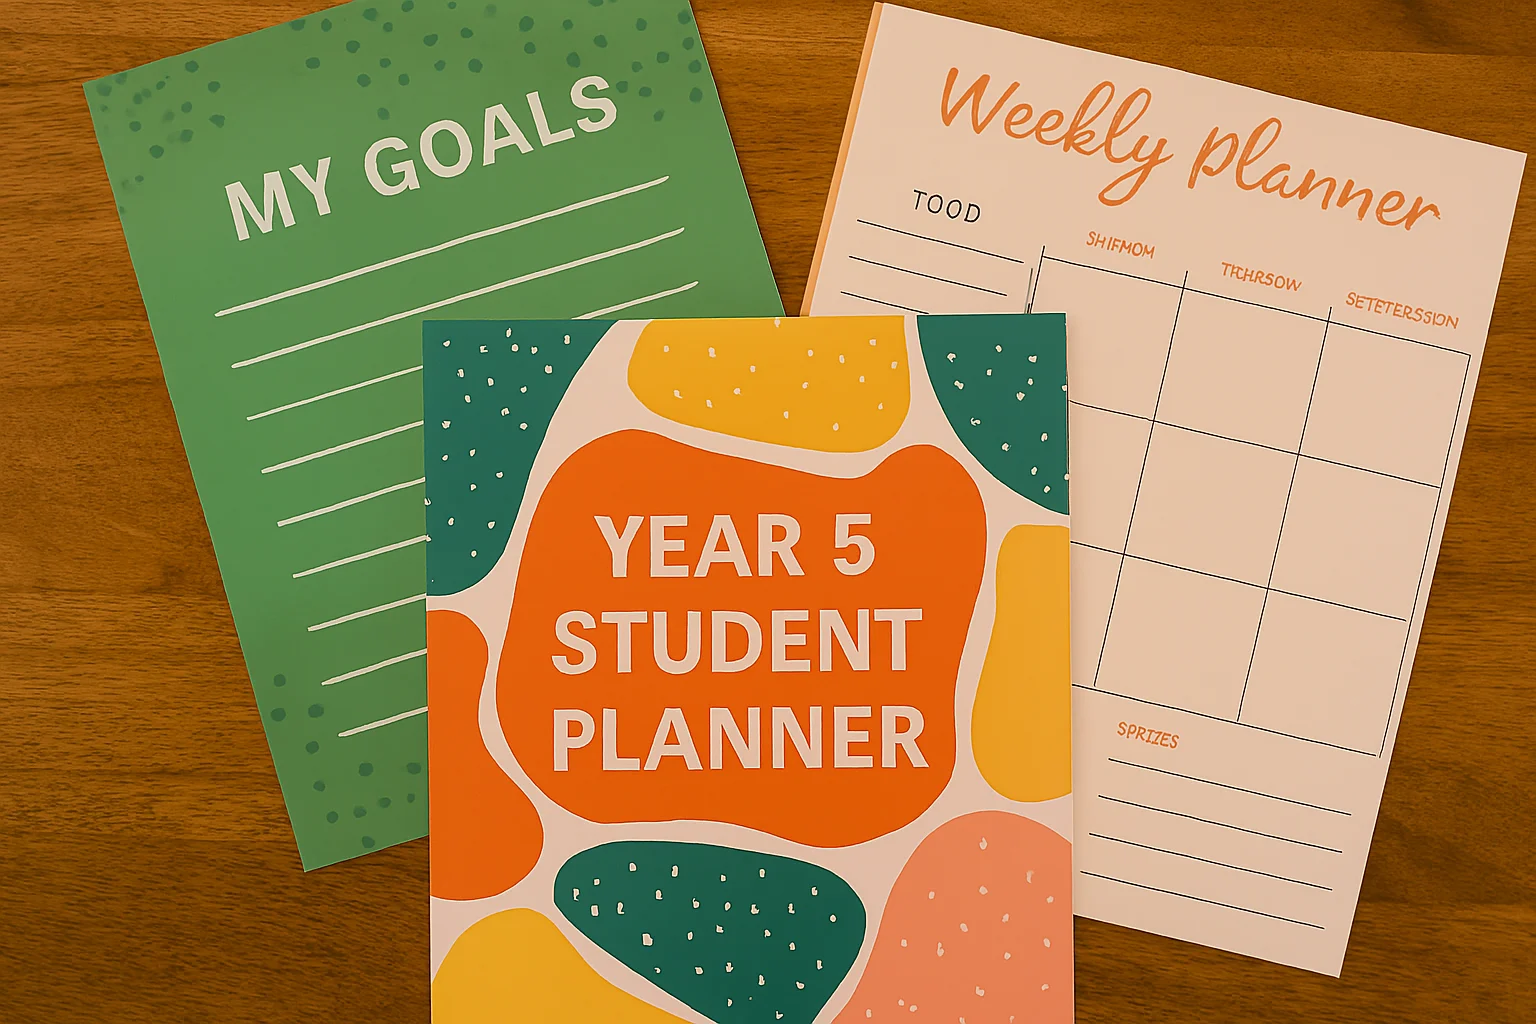
Key Pages to Include:
-
Academic Calendar: A year-at-a-glance for holidays and key dates.
-
Semester Goals: A page to write down what you want to achieve.
-
Timetable: A clean, easy-to-read weekly schedule.
-
Weekly/Daily Spreads: The heart of your planner (more on this next).
-
Project Planning Pages: For breaking down big assignments.
-
Notes & Doodling Pages: For everything else!
-
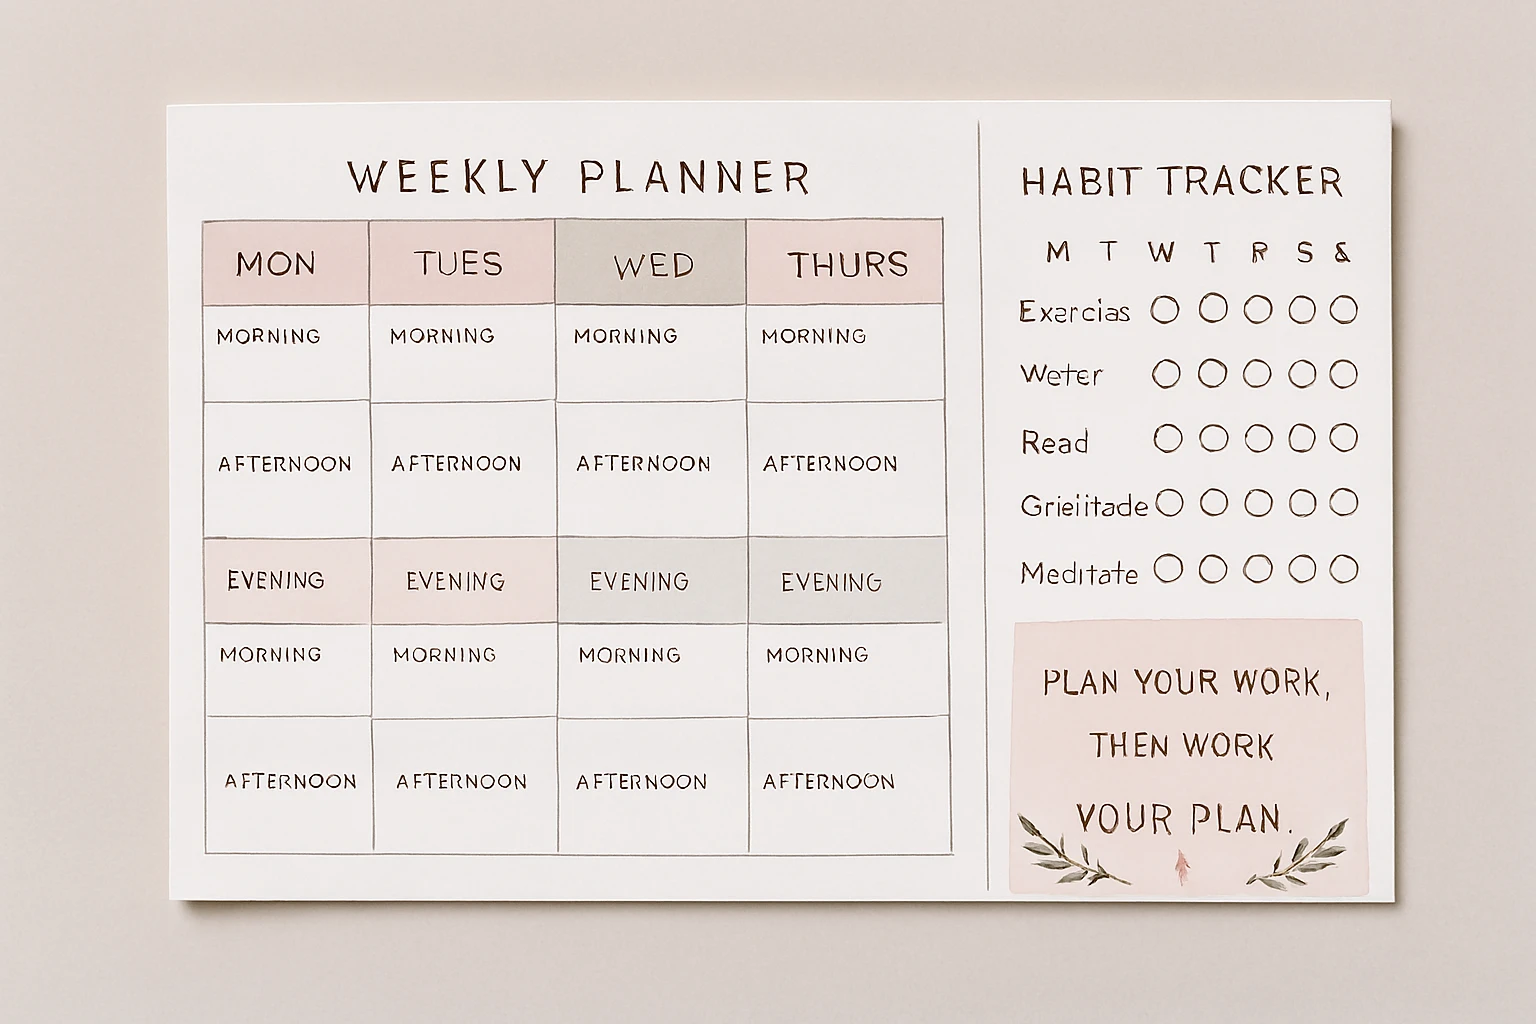
Step 3: Designing Your Weekly Spread (The MVP)
This is the page you’ll use the most. Make it functional and beautiful.
-
Use Grids & Lines: Canva’s “Elements” tab has grids and lines. Use them to create neat columns for each day. Consistency is key to a clean look.
-
Incorporate Functional Sections:
-
Hourly Time Blocks: For detailed daily planning.
-
Top 3 Priorities: A box for your non-negotiables.
-
Water & Habit Trackers: Small checkboxes to build healthy routines.
-
A “Don’t Forget” Section: For urgent reminders.
-
A Little Motivational Quote: A small daily dose of inspiration.
-
**Step 4: Unleashing Your Inner Designer with Canva’s Toolkit
-
Templates: Search “planner” in the Canva template library. Don’t use one as-is—mix and match elements from different templates to create something unique.
-
Colour Palette: Stick to 3-4 core colours for a cohesive look. Use your school colours or a palette that calms or energises you.
-
Fonts: Choose two fonts: one easy-to-read font for your daily tasks (like Poppins or Open Sans) and one decorative font for headers. Don’t go overboard!
-
Elements & Graphics: Use Canva’s free icons, shapes, and illustrations to break up text and add visual flair. A small icon for a “library day” or “football practice” can make your schedule scannable.
From Screen to Paper: Printing Your Masterpiece
You’ve designed a work of art. Now, it deserves to be a tangible object you can hold and use.
-
Export Correctly: From Canva, click “Share” > “Download.” Choose PDF Print as your file type. This is crucial for preserving your design quality.
-
Choose Your Binding: How do you want it to feel?
-
Spiral Bound: The classic choice. Lies completely flat, perfect for note-taking.
-
Wire-O Bound: A sleek and professional alternative.
-
Saddle-Stitched (Stapled): Great for thinner, term-by-term planners.
-
-
Select Your Paper: The paper quality changes everything. A thicker, premium paper feels luxurious and prevents ink from bleeding through.
This is the stage where your digital creation becomes a real-world tool. For a result that truly does your design justice, consider a professional print service. The team at www.sunygraphics.co.uk specialises in transforming digital PDFs into high-quality, bound planners that are durable enough to survive a year in a student’s backpack.
Your Year of Organisation Awaits
Designing your own student planner is more than a craft project; it’s an act of setting intentions. It’s you declaring that this year will be organised, inspired, and uniquely yours. You’ve done the hard part—you’ve created something amazing.
Now, let’s bring it to life. Take that PDF, and get it printed. Hold it in your hands. Fill its pages with your goals, your deadlines, and your successes. You’re not just ready for the school year; you’re equipped to conquer it.
Ready to see your custom Canva design as a professional, bound planner? Get a instant quote and explore the premium printing options available at www.sunygraphics.co.uk. Let’s make your organisational dreams a reality.