Table of Contents
1. Why Editing for Print is Different
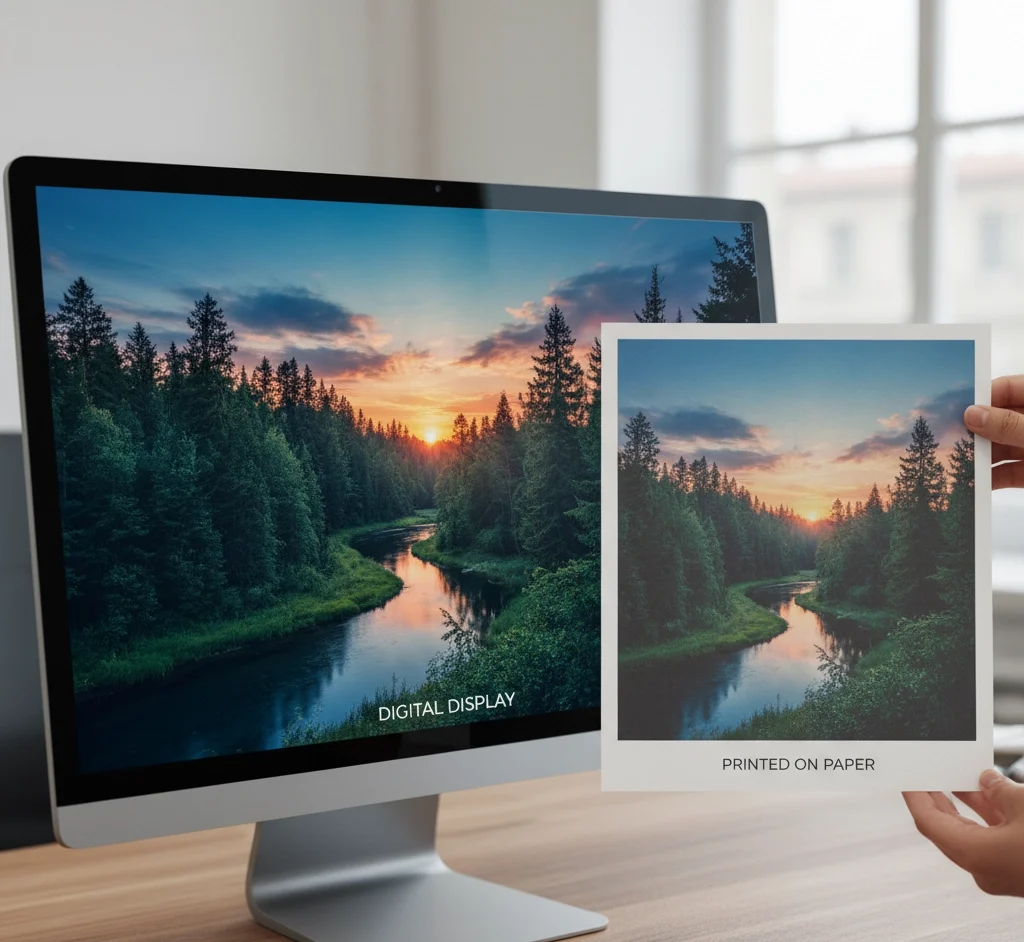
Ever noticed that a photo that looks amazing on your laptop screen sometimes comes out of the printer looking too dark, washed out, or with colors all wrong? That’s because editing for print is not the same as editing for digital.
Screens use light (RGB) to display images, while printers use ink (CMYK). This alone means your colors, brightness, and contrast will behave differently once ink hits paper. Without preparing your files properly, prints can lose depth, vibrancy, or detail.
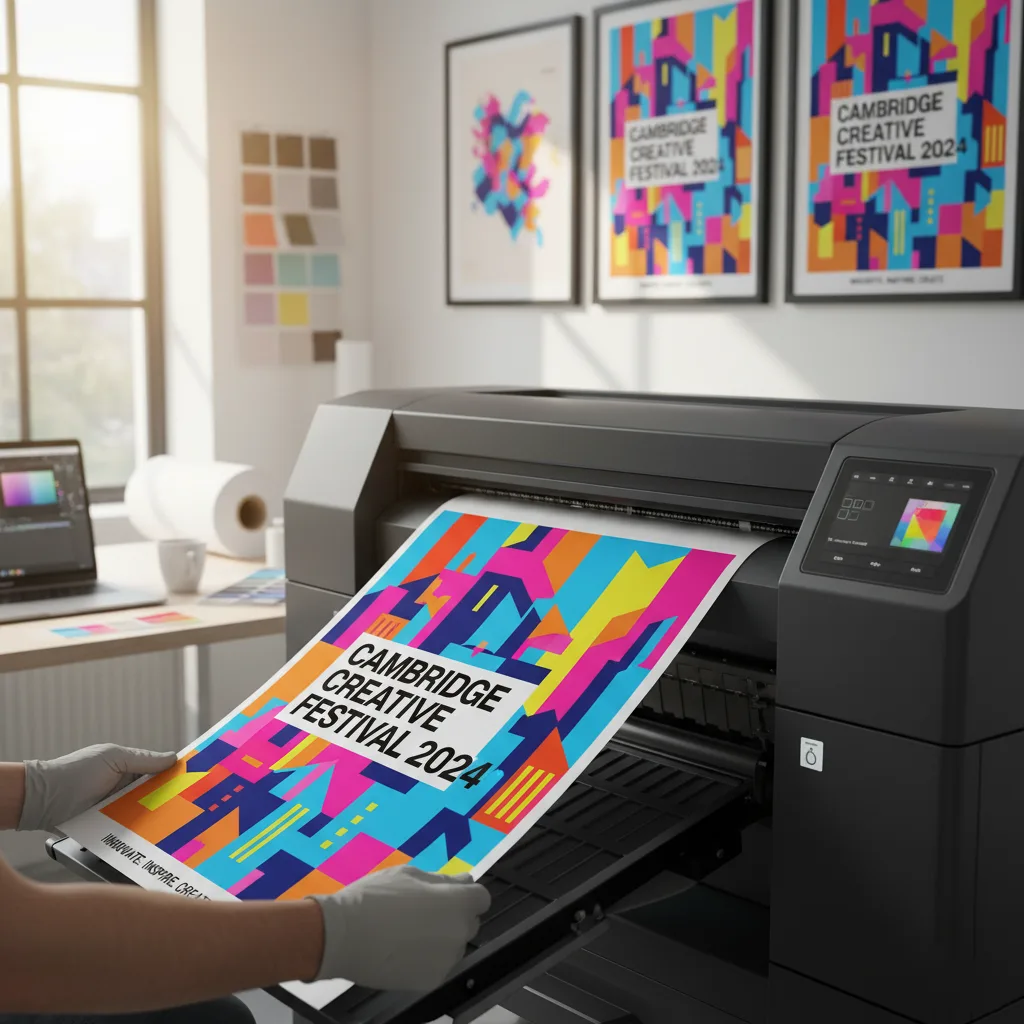
Another factor? The material you print on. At our Southampton print shop, we’ve seen the exact same image look bold and glossy on metal, but soft and vintage on wood. Knowing these differences early helps you edit smarter, not harder. Need any design and printing service, CONTACT US TODAY
2. Preparing Your Image: Resolution and Color Mode
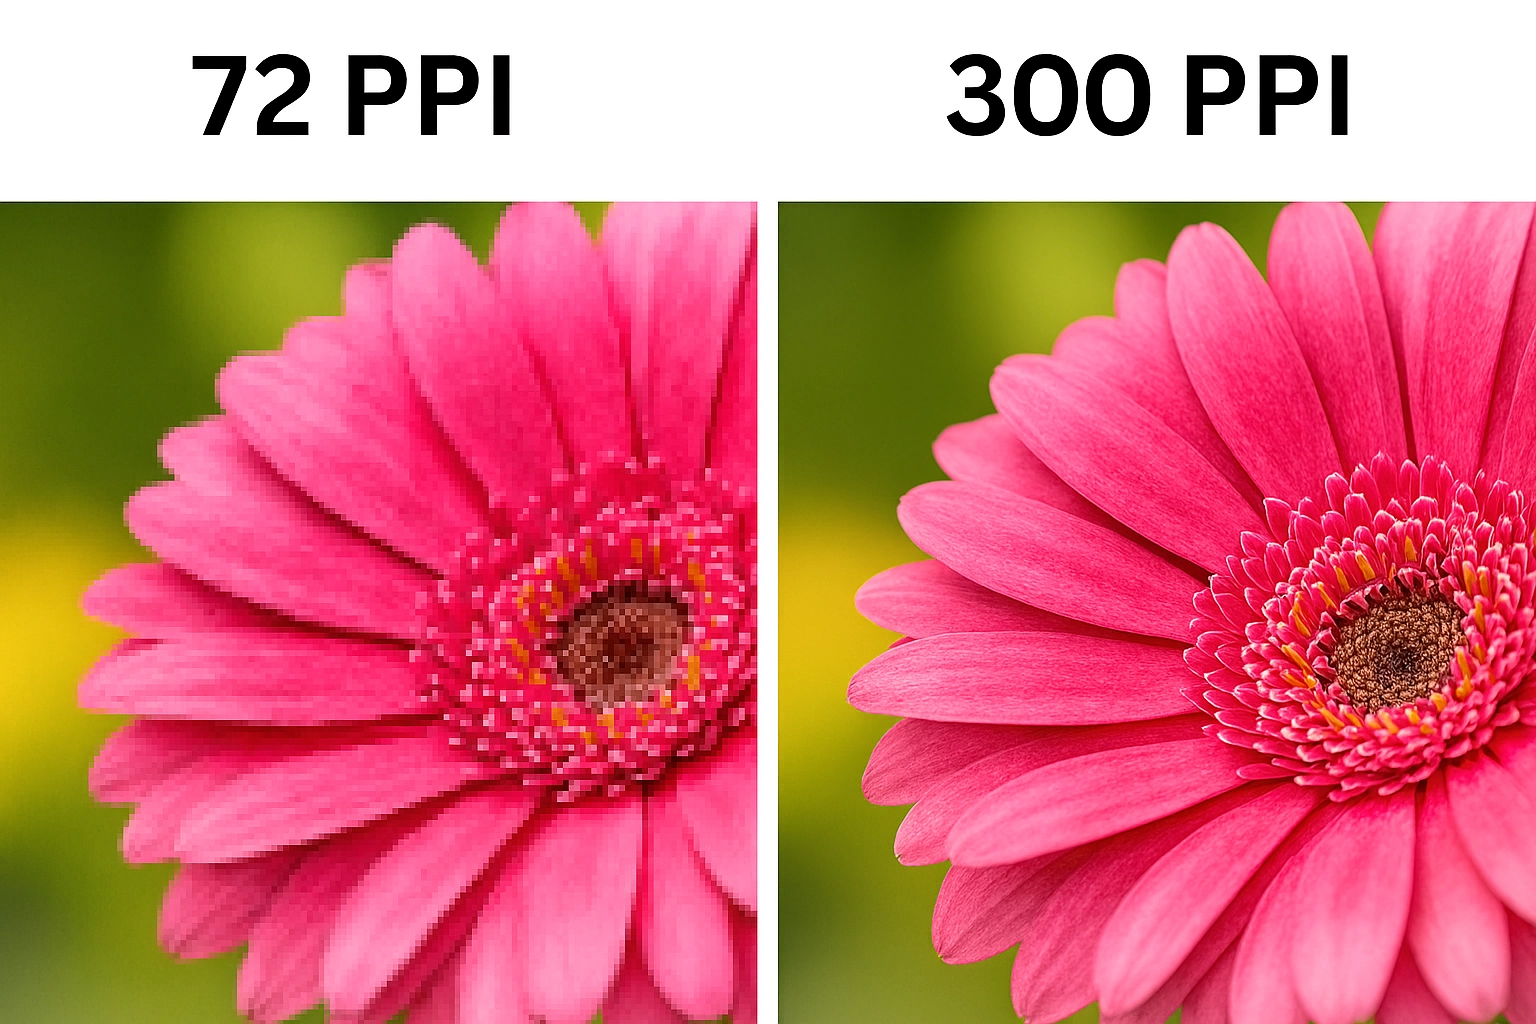
Set the Right Resolution
Online images only need 72 PPI, but for print you’ll want at least 300 PPI. Anything lower risks looking blurry or pixelated when enlarged.
In Photoshop:
-
Go to Image > Image Size
-
Set Resolution to 300 PPI
-
Keep “Resample” unchecked if you don’t want to stretch pixels
Pro tip: Always start with the highest quality original you have—don’t try to upscale a compressed social media photo.
Switch to the Correct Color Mode
Your screen works in RGB, but printers expect CMYK. Convert before printing to avoid unexpected color shifts:
-
Image > Mode > CMYK Color
-
Or, for accuracy, use Edit > Convert to Profile with your printer’s recommended profile
3. Color Correction and Enhancement Tips
Brightness & Contrast
Photos print darker than they look on screen. In Photoshop, boost brightness slightly and fine-tune with Levels or Curves to stop shadows from disappearing.
Adjust for Print Materials
-
Wood Prints → Boost whites and contrast (wood absorbs ink and softens colors).
-
Matte Prints → Increase brightness and saturation (matte absorbs more light).
-
Metal Prints → Go easy; colors will naturally pop on glossy surfaces.
-
Magnets → Brighten heavily; they tend to print dark.
Dodge & Burn for Depth
Use dodge (lighten) and burn (darken) to guide the eye and add dimension. Keep it subtle—prints exaggerate edits more than screens.

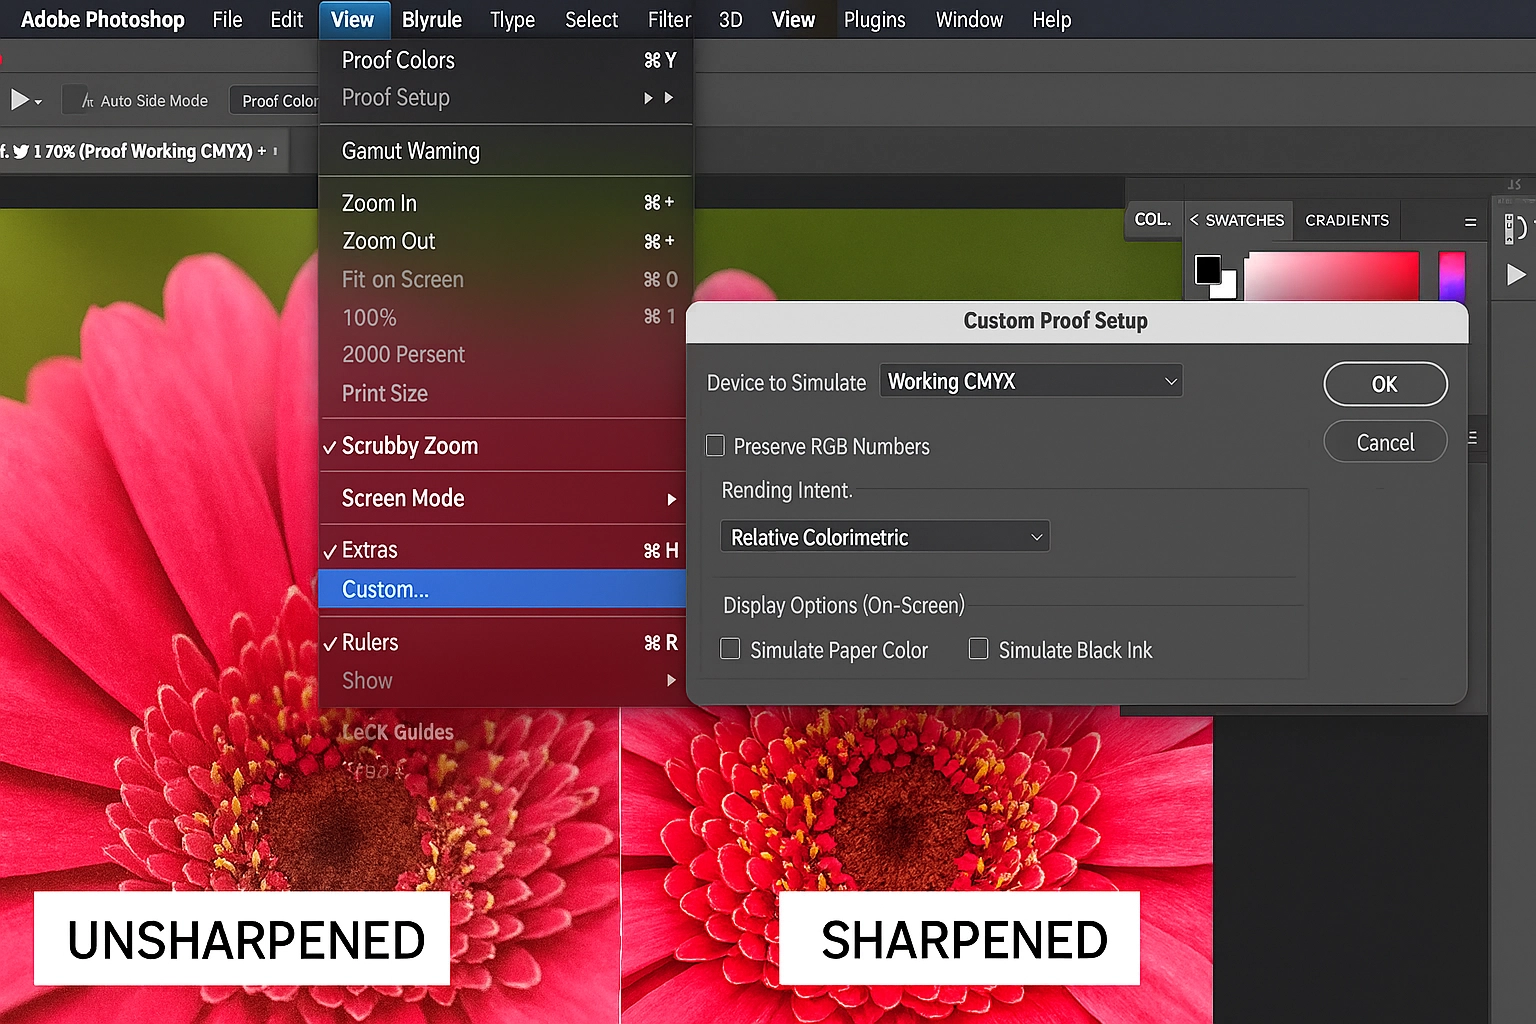
4. Sharpening and Noise Reduction
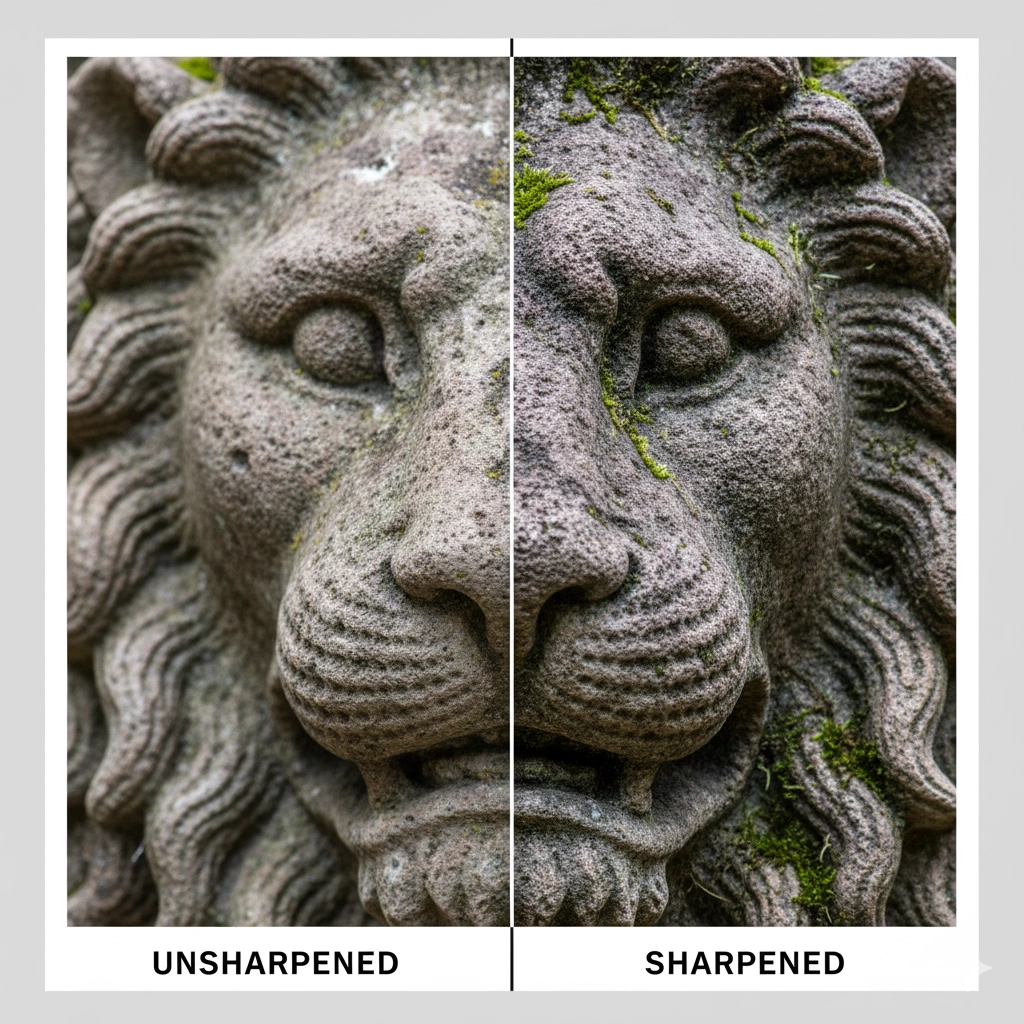
Smart Sharpening
Printing softens details slightly, so sharpening is essential. Use:
-
Unsharp Mask → Amount 80–150%, Radius 0.5–2 pixels
-
Apply sharpening after resizing to final print size
Taming Noise
Grainy images? Noise is more visible in print than on screen. Use Filter > Noise > Reduce Noise and keep it light—overdoing it makes textures look plastic.
5. Soft Proofing and Printer Calibration
Want to see what your print will actually look like before printing? That’s where soft proofing comes in:
-
View > Proof Setup > Custom
-
Pick your printer/paper profile
-
Toggle with View > Proof Colors
This shows you where colors may shift or print duller.
If you’re printing locally in Southampton (or anywhere in the UK), always ask your print service for their ICC profiles. At Suny Graphics, we provide custom profiles so clients can preview exactly how their images will translate to our printers.
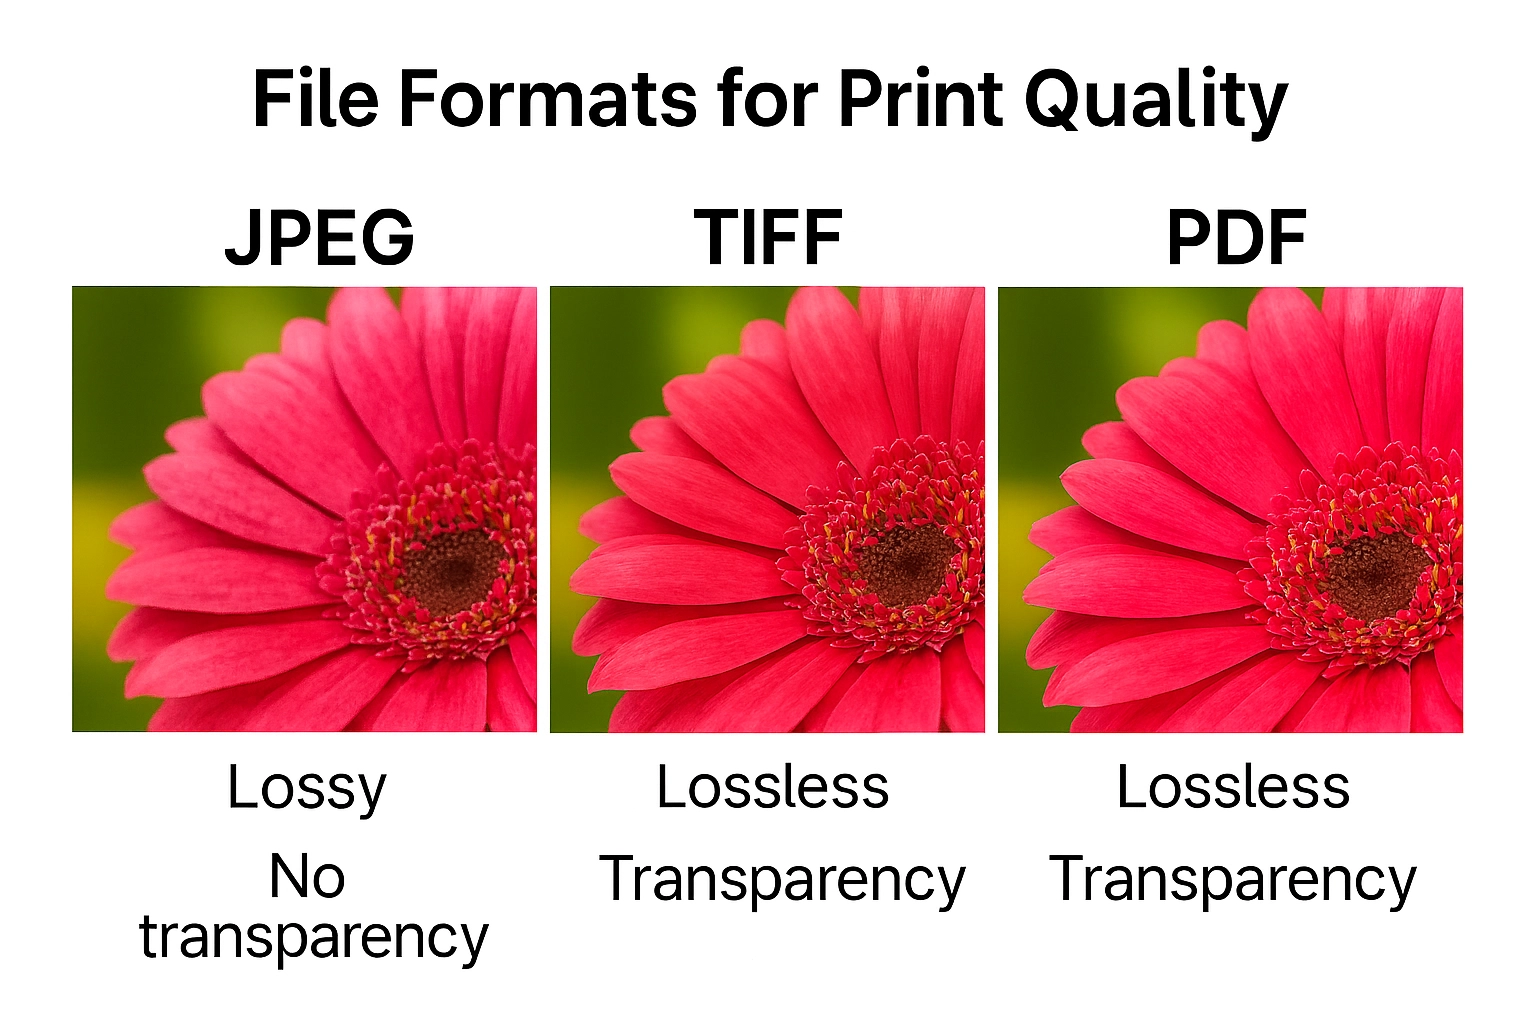
6. Saving and Exporting Print-Ready Files
File Formats That Work Best
-
TIFF → Best for quality (supports layers and CMYK)
-
PSD → Great if printing yourself, but not always supported by labs
-
JPEG → Use max quality only; avoid for big professional jobs
-
PDF → Excellent for commercial printers (includes profiles & vectors)
Always embed your ICC profile before saving to lock in color accuracy.
Metadata & Copyright
Add metadata and copyright info via File > File Info. It’s a small step but important if you’re publishing, selling, or archiving your images.
7. Conclusion
Editing photos for print in Photoshop isn’t just a technical chore—it’s the difference between a dull, disappointing print and a professional-quality piece you’re proud to show off.
By paying attention to resolution, color modes, brightness, sharpening, and file formats, you’ll avoid the common pitfalls that ruin prints. And if you’re ever unsure? Run a test print before committing to a big batch.
At Suny Graphics, our Southampton-based team helps photographers, artists, and businesses across the UK get flawless prints every time. From fine art giclée to vibrant metal and wood prints, we combine expert editing knowledge with high-end printing equipment.
✨ Ready to print your photos the right way? Visit www.sunygraphics.co.uk to explore our professional printing services in Southampton and beyond.