Beginner’s Guide to Using Lightroom for Better Photos (You Can Do This!)
So, you’ve taken the plunge into photography. Your camera roll is full of potential, but when you look at your photos on the big screen, they feel a bit… flat. They don’t quite have the pop and vibrancy of the images you admire online.
Sound familiar? Don’t worry, you’re not alone. This is where Adobe Lightroom comes in. Think of it not as a complicated tool for pros, but as your digital darkroom—a place to unlock the hidden beauty in your shots. This beginner’s guide will demystify Lightroom and give you the confidence to transform your good photos into great ones.
First Things First: What Exactly is Lightroom?
It’s easy to get confused between Adobe’s photo software. Here’s the simple breakdown:
-
Lightroom Classic: The powerhouse for desktop users. It’s all about organizing and editing large libraries of photos on your computer.
-
Lightroom (the cloud-based version): Built for mobility. It syncs your photos across your phone, tablet, and desktop, making it perfect for photographers on the go.
For most beginners starting out, the cloud-based Lightroom is incredibly user-friendly and more than powerful enough. You can often get started with a free plan or a very affordable subscription.
Your First Steps: The Lightroom Workflow
Editing can feel overwhelming, so it’s best to follow a simple process. We’ll focus on the essential tools in the “Light” panel—your new best friends.
1. The Crop & Straighten Tool (Your Secret Weapon)
Before you touch a single slider, look at your composition. Is the horizon crooked? Is there a distracting element on the edge? The crop tool (shortcut ‘R’) is your first step to a cleaner image. Use it to straighten horizons and frame your subject more powerfully.
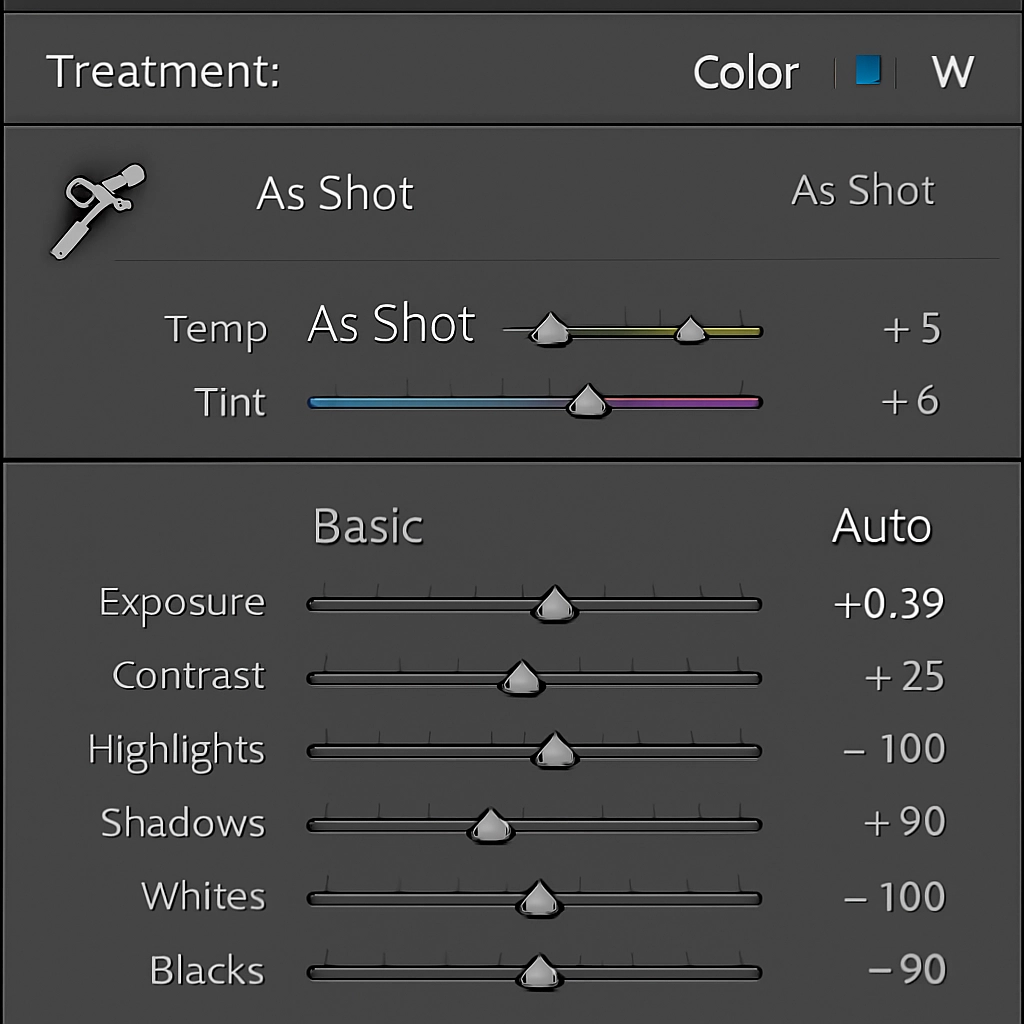
2. Master the “Basic” Panel
This is where the magic happens. You don’t need to touch every slider. Start with these, in this order:
-
White Balance: Was your photo taken under yellow tungsten light or blue-ish shade? This slider fixes the color cast. Use the dropper tool on something that should be white or grey for an instant fix.
-
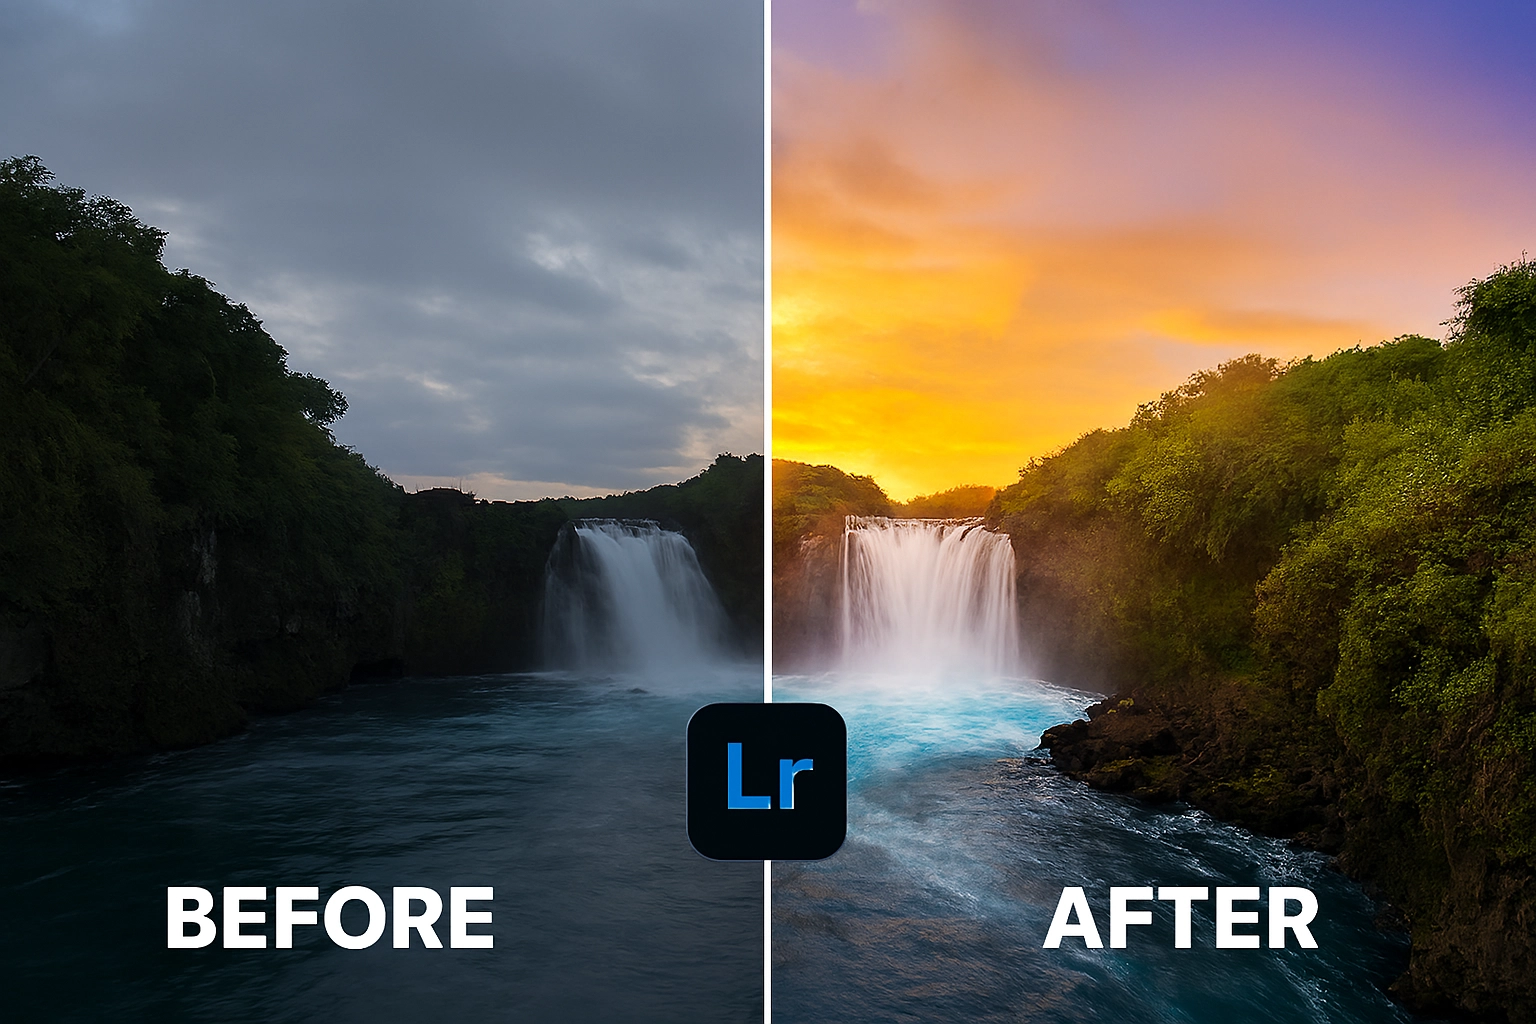
Exposure: Is the overall image too dark or too bright? Nudge this slider to correct it.
-
Contrast: Adds separation between the darks and lights. Increasing contrast often makes an image feel more punchy and dimensional.
-
Highlights & Shadows: This is your superpower. Pulling down Highlights can recover details in a blown-out sky. Pulling up Shadows reveals details hidden in dark areas, like the interior of a shaded forest.
-
Whites & Blacks: These set the pure white and pure black points in your image, giving it a solid foundation. A pro tip: hold the ‘Alt’ key (Option on Mac) while sliding ‘Whites’ until you see just a few specks appear; do the same for ‘Blacks’.
3. The Finishing Touches: Presence & Sharpening
-
Texture: Great for enhancing details like skin, wood, or foliage without making it look unnatural.
-
Clarity: Adds mid-tone contrast. Use it sparingly for an edgy look, but often avoid it for portraits as it enhances skin imperfections.
-
Vibrance vs. Saturation: Vibrance is smart saturation; it boosts the muted colors without oversaturating the already bright ones. Saturation boosts everything equally. Vibrance is usually the safer, more natural choice.
From Digital File to Tangible Art
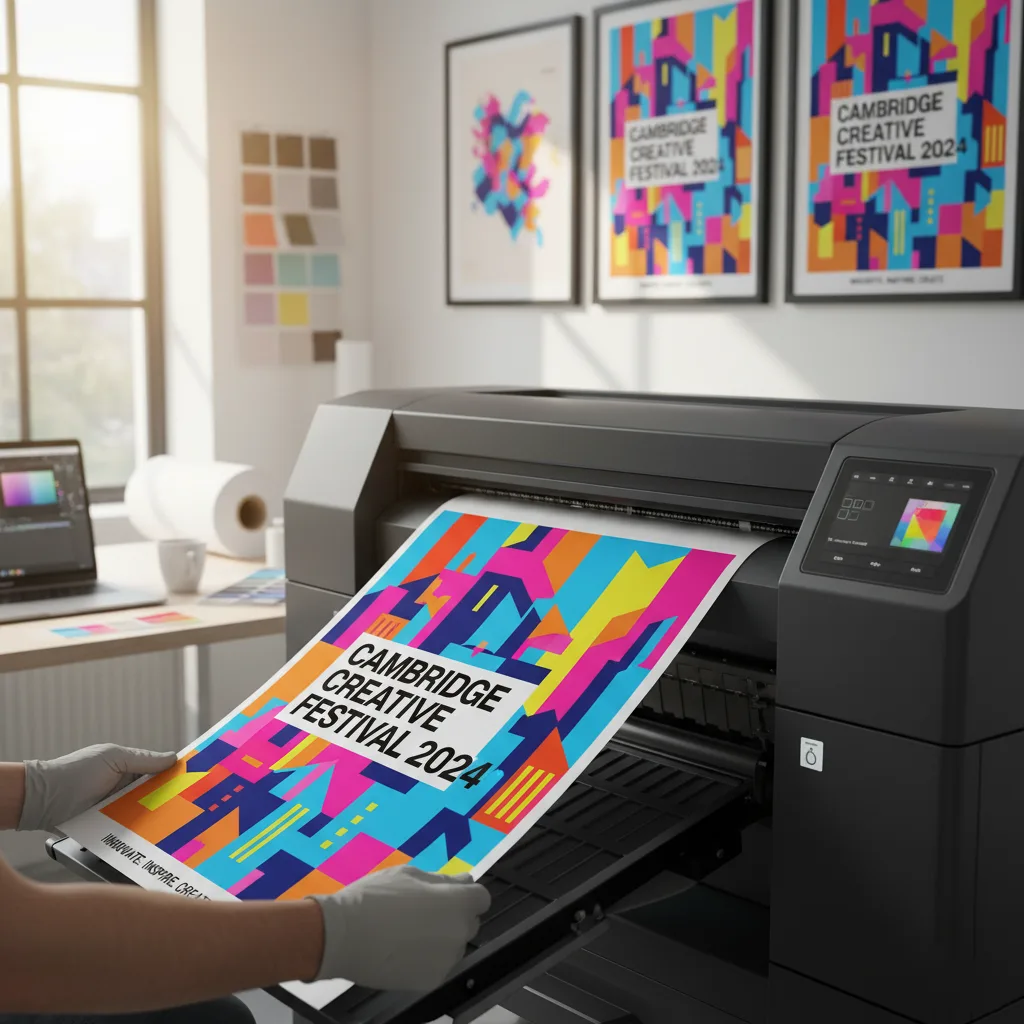
There’s something incredibly special about holding your photography in your hands. After you’ve put in the work to learn Lightroom and perfect your images, the final step is to see them in print. A physical print is the true test of your editing skills and allows you to enjoy your art off the screen.
Whether it’s a stunning landscape for your wall or a cherished portrait for a gift, professional printing makes all the difference. For photographers who care about colour accuracy and premium quality, the results from a dedicated lab are unmistakable. Once your editing is complete, consider bringing your vision to life with a professional service.

Practice Makes Progress
The key to learning Lightroom is to play. Import a few of your favourite shots and just experiment. Slide every slider to its extremes to see what it does, then bring it back to a pleasing middle ground. Create presets for your favourite looks to speed up your workflow later on.
Remember, editing is subjective. There’s no single “right” answer. It’s about creating an image that feels right to you and conveys the emotion you felt when you pressed the shutter.
Your journey from beginner to confident editor starts with these simple steps. Embrace the process, and most importantly, have fun revealing the stunning images hidden within your camera! And when you’ve created a masterpiece you’re truly proud of, you’ll want to ensure it’s printed with the quality it deserves. For those looking to showcase their work in its best light, exploring professional printing options is the perfect next step.