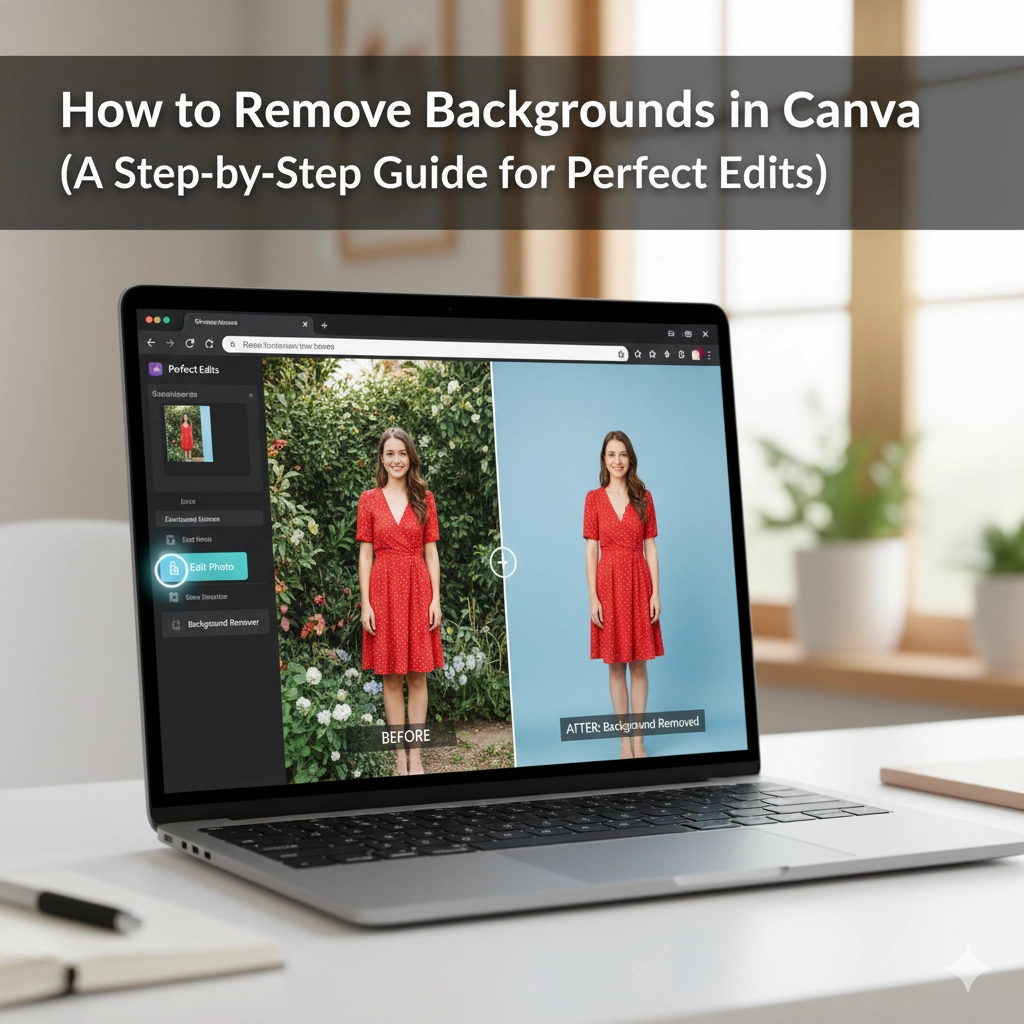
How to Remove Backgrounds in Canva (A Step-by-Step Guide for Perfect Edits)
Ever found the perfect image for your design, but the background just doesn’t fit? Maybe you need a clean product shot for a flyer, or you want to place a person onto a new, exciting backdrop. Manually erasing backgrounds used to be a complex task reserved for graphic design pros with expensive software.
Not anymore. Canva’s powerful (and surprisingly easy-to-use) background removal tool has changed the game. Whether you’re a small business owner, a social media manager, or just creating for fun, this feature is a total game-changer.
This step-by-step guide will walk you through the entire process, from start to finish, ensuring you get clean, professional-looking results every time.
Why Remove a Background?
Before we dive into the “how,” let’s quickly look at the “why.” Removing a background allows you to:
-
Create Professional Product Shots: Place your products on a clean white background or into lifestyle scenes.
-
Design Engaging Marketing Materials: Layer people and objects creatively for posters, social media posts, and flyers.
-
Make Custom Logos & Watermarks: Use your logo without any distracting background elements.
-
Craft Fun Personal Projects: Create custom birthday cards, invitations, or collages with family photos.
Step 1: Open Your Design & Upload Your Image
First, log in to your Canva account and either open an existing design or create a new one of any size. To add your image:
-
Click on the “Uploads” tab on the left-hand sidebar.
-
Click “Upload files” and select the image you want to work with from your computer.
-
Once uploaded, drag and drop the image onto your design canvas.
Pro Tip: For the best results, choose an image with a clear contrast between the subject and the background. Images with complex edges like frizzy hair or fine details can be trickier, but Canva still does an impressive job.
Step 2: Select Your Image and Find the Magic Button
Click on the image you just added to your canvas to select it. A toolbar will appear immediately above your image. Look for an option that says “Edit image.” It looks like a little landscape icon.
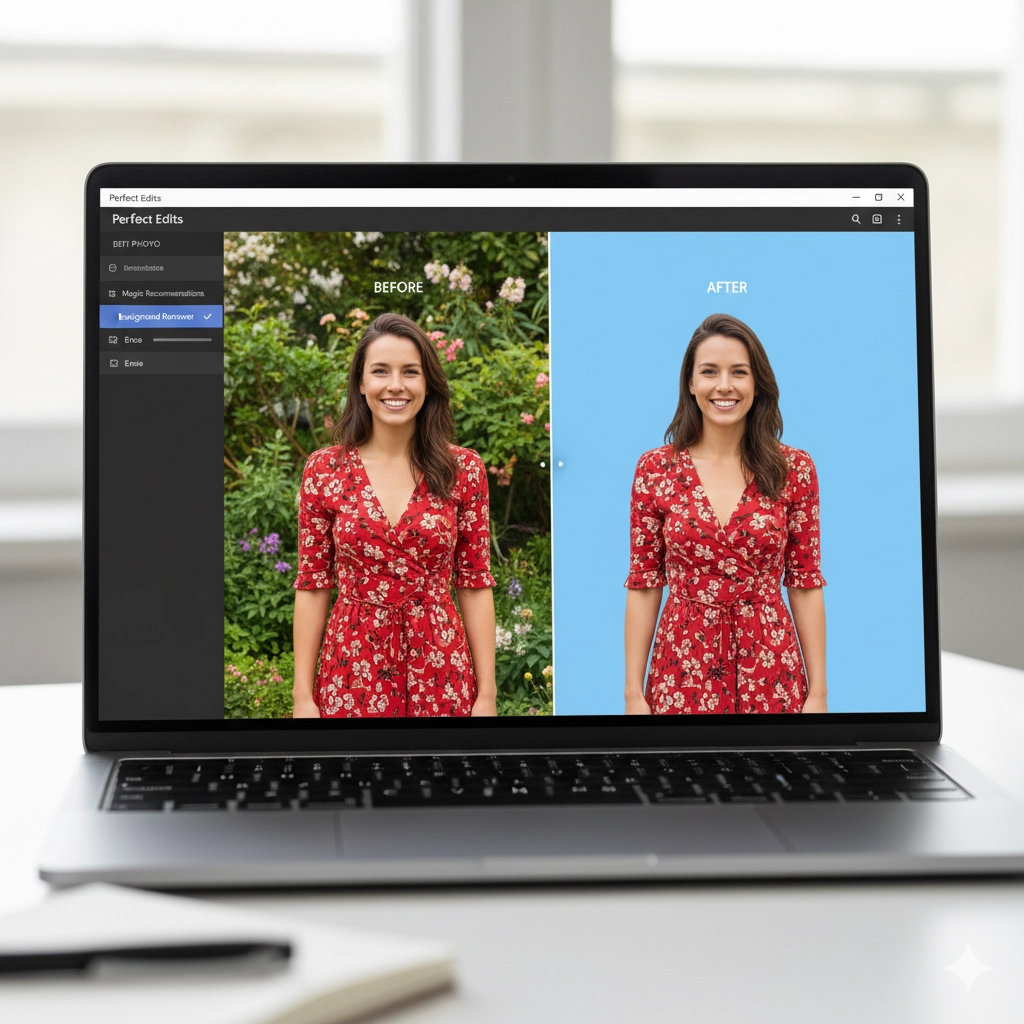
Clicking this will open a new sub-menu on the top toolbar. And there it is: the star of the show. Look for the button labelled “BG Remover” (Background Remover). The icon typically looks like a person with a magic wand.
Step 3: Let Canva Work Its Magic
Click the “BG Remover” tool. Now, just wait a few seconds. Canva’s AI will automatically analyse your photo, identify the main subject, and instantly remove the background. You’ll see the background replaced with a grey and white checkerboard pattern – this is the universal indicator for transparency.
It’s that simple. One click and the background is gone!
Step 4: Review and Refine (If Needed)
While Canva’s AI is powerful, it’s not perfect. Sometimes it might miss a tiny bit of background or accidentally remove a part of your subject. Here’s how to check and fix it:
-
Zoom In: Use the zoom function to carefully inspect the edges of your subject.
-
The Eraser & Restore Tools: Next to the “BG Remover” button, you’ll find two additional tools: “Erase” and “Restore.”
-
Use the Erase tool to manually remove any bits of background the AI missed. You can adjust the brush size for precision.
-
Use the Restore tool if the AI was too aggressive and removed part of your subject. Paint over the area you want to bring back.
-
Step 5: Use Your Image with a Transparent Background
Once you’re happy with the result, you’re done! You can now:
-
Layer it: Place another image behind it as a new background.
-
Use it on Colours: Change the background colour of your design to make your subject pop.
-
Download it: If you want to use this image elsewhere, download it as a PNG file. This is crucial! JPEG files do not support transparency and will give you a white background. Always select PNG to preserve the transparent background.
Pro Tip for Complex Images: If you’re working with a tricky image, try using the erase and restore tools on a slightly larger version of the image than you need. Once you’re happy, you can scale it down—this often makes any minor imperfections in the edges vanish.
Unlock Your Creativity
And that’s it! You’ve now mastered one of the most valuable skills in Canva. Removing backgrounds unlocks a new world of creative possibilities, allowing you to design with a professional polish without a professional’s budget.
So go ahead, experiment, layer, and create something amazing. That perfect, clean-cut image is now just a few clicks away.