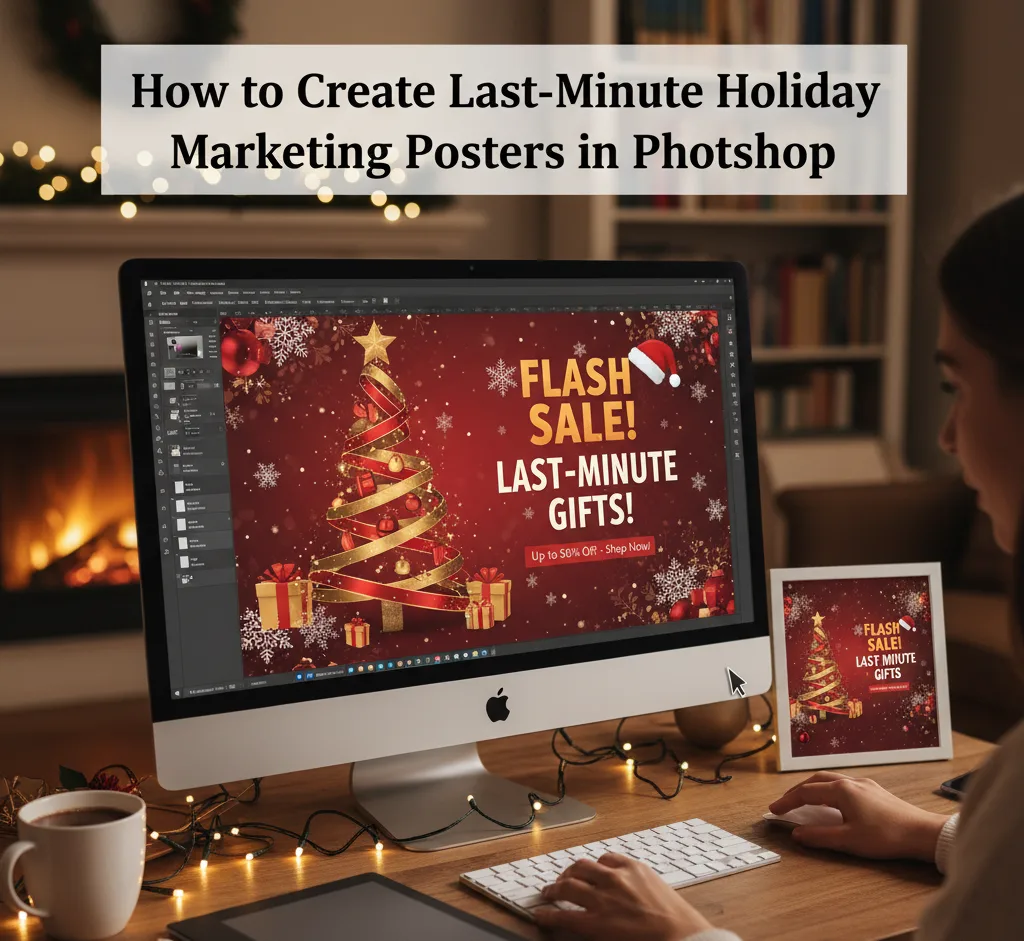
🕒 How to Create Last-Minute Holiday Marketing Posters in Photoshop
🎁 The Holiday Rush Is Real — But So Is Your Creativity
The festive rush always hits before we’re ready. One minute, you’re wrapping up autumn campaigns; the next, customers are searching for Christmas gifts, the lights are up, and your business suddenly needs a holiday poster that sells.
Here’s the truth: great design doesn’t always require weeks of planning. With a few smart moves in Photoshop, you can create eye-catching, emotion-packed posters that stop people in their tracks even at the last minute.
At SUNYGRAPHICS, we’ve spent years helping businesses transform those “panic design” moments into professional visuals that feel thoughtful, festive, and full of heart. Let’s show you how.
🎄 Step 1: Start With the Emotion You Want to Evoke
Before opening Photoshop, ask yourself one key question:
What do I want my audience to feel?
Do you want warmth and nostalgia? A sense of excitement? Or maybe a deep connection to giving and gratitude?
Emotion drives action. During the holidays, people don’t just buy products they buy moments, memories, and meaning.
💡 Example headline: “Turn Your Memories into Magical Christmas Gifts!” a line that instantly sparks emotion (and one we proudly use at SUNYGRAPHICS).

🧭 Step 2: Set Up Your Photoshop Canvas
Choose the right canvas size based on where your poster will appear.
Recommended Sizes:
-
A3 or A1 for print (300 DPI, CMYK)
-
1080x1350px for social media posts
-
1080x1920px for Instagram or Facebook stories
-
1920x1080px for digital screens
In Photoshop:
-
Go to File → New
-
Set your resolution to 300 DPI for print, 150 DPI for digital
-
Choose CMYK for print and RGB for digital

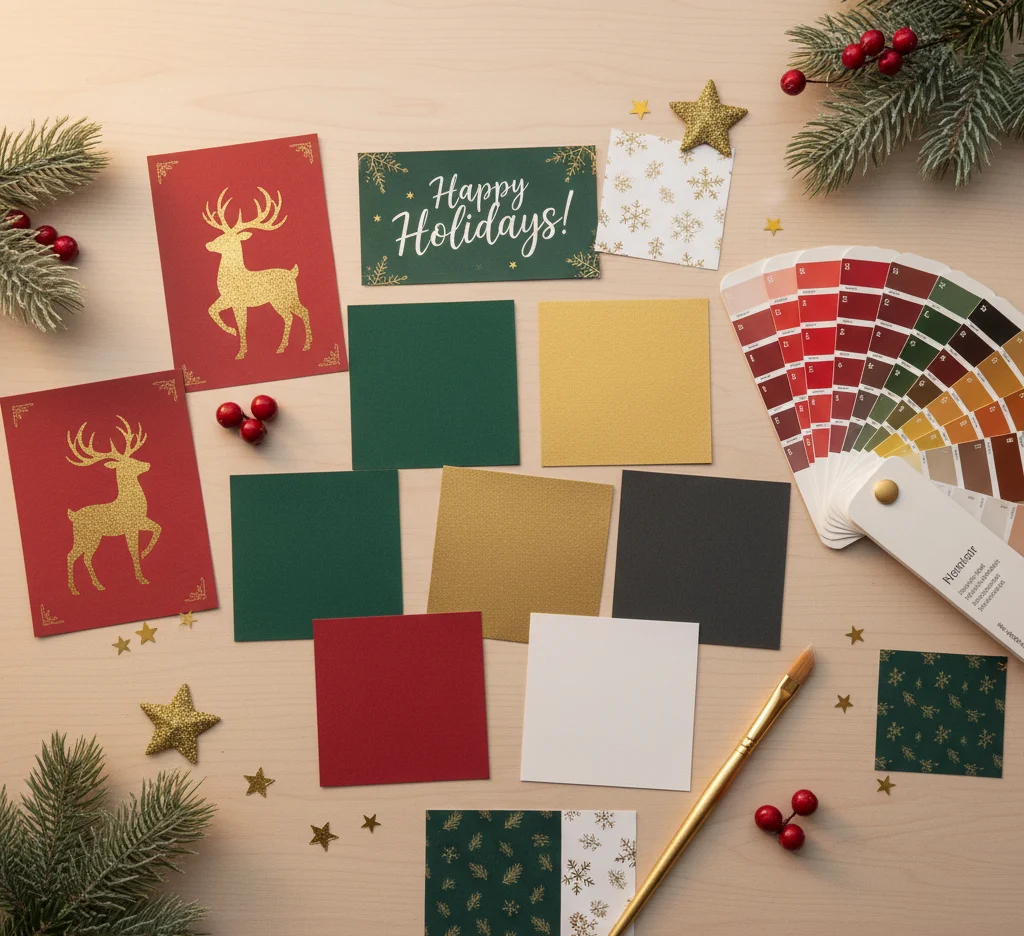
🌟 Step 3: Build a Festive Colour Palette
Colour defines the tone of your design. The quickest way to make your poster feel festive is through a strong, balanced palette.
Classic choices:
-
Red, gold, and white
-
Green, berry red, and cream
Modern & elegant:
-
Blush pink, champagne gold, and ivory
-
Deep teal, copper, and snow white
At SUNYGRAPHICS, we combine modern tones with traditional warmth to make visuals both emotional and premium.
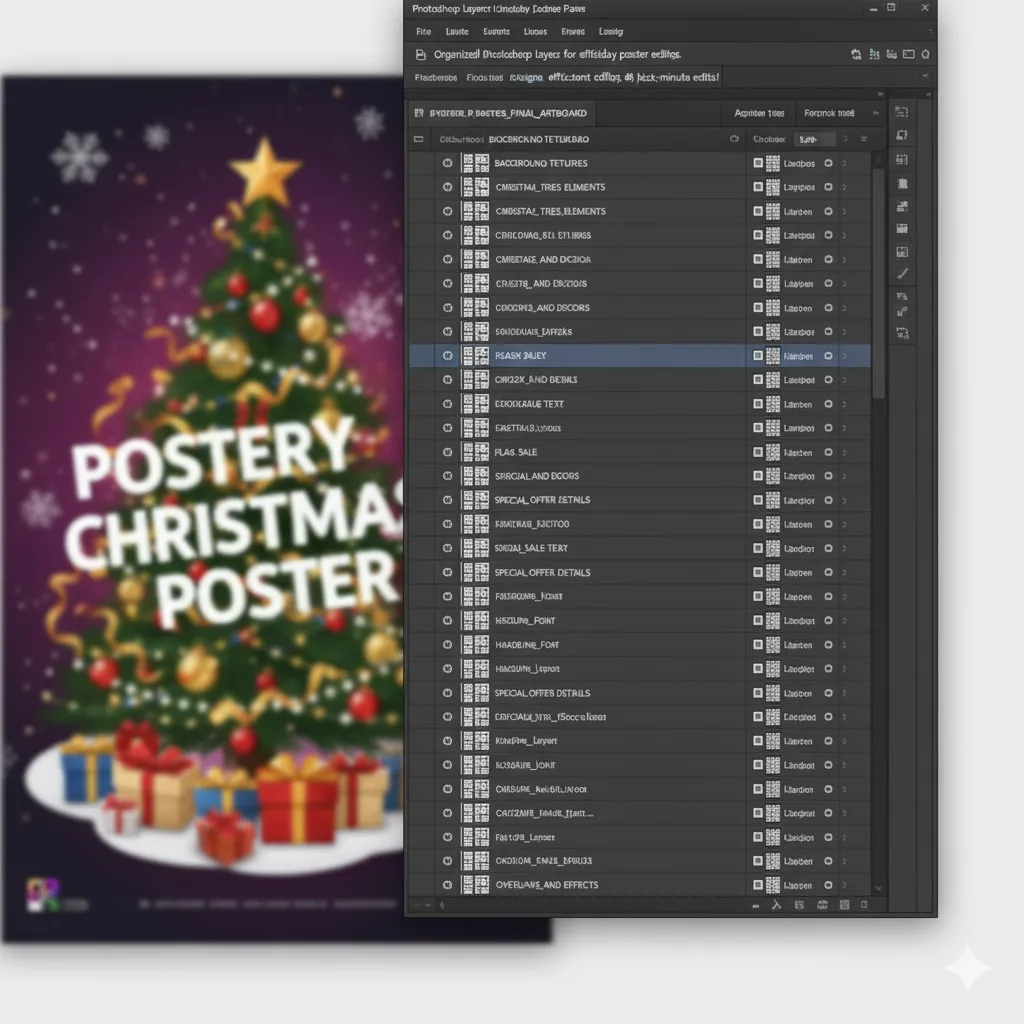
🪄 Step 4: Organize with Smart Layering
When time is short, structure saves the day.
Keep your Photoshop layers neat and labelled.
-
Background texture or gradient
-
Product or image layer
-
Text layer for headlines
-
Adjustment layers for lighting
-
Overlay layers for snow or sparkle
This workflow makes it easy to adjust or repurpose the design later without breaking your layout.
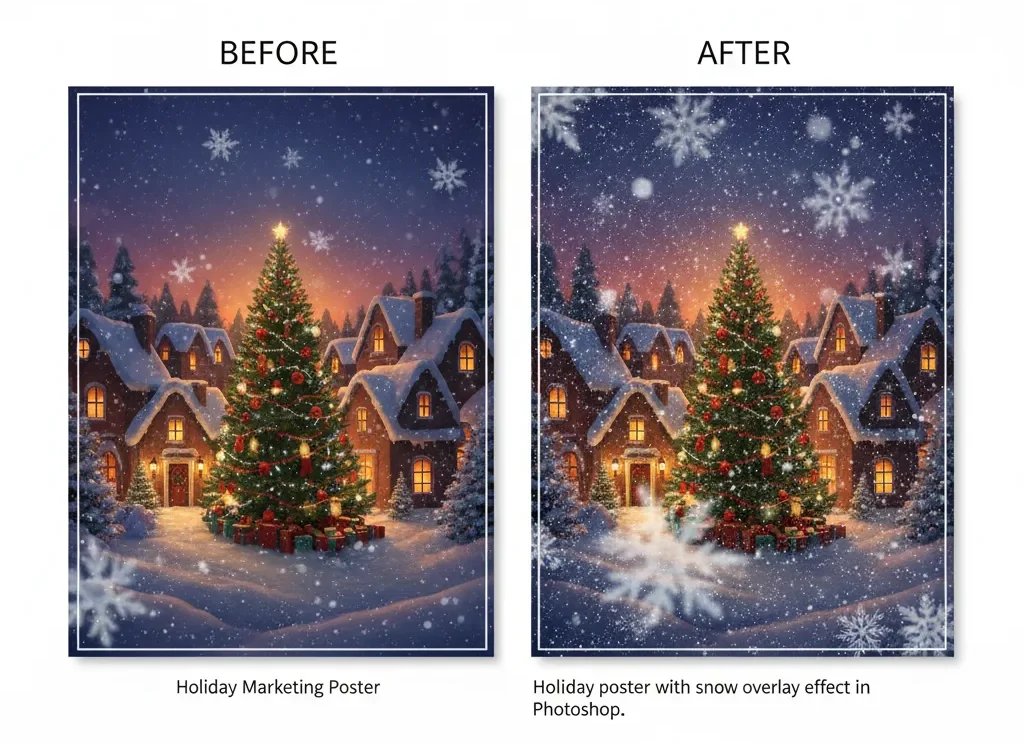
✨ Step 5: Add Overlays for Instant Magic
If you want your design to sparkle, add overlays — snow effects, bokeh lights, or star glows.
To apply:
-
Drop in your overlay image.
-
Change blend mode to Screen or Soft Light.
-
Lower opacity for realism.
A light dusting of snow across your design adds instant Christmas charm. For more advanced or time-saving options, the team at SUNYGRAPHICS creates high-quality Photoshop templates and overlays that look studio-made.
🖋 Step 6: Write Headlines That Sell Emotion
Forget shouting “SALE!” — that’s forgettable. Great headlines connect with feeling.
Use lines that evoke joy and anticipation:
-
“Wrap Up Joy This Christmas”
-
“Give the Gift of Memories”
-
“Celebrate Love, Laughter & Local Shopping”
Pair your fonts smartly:
-
One decorative script (for emotion)
-
One clean sans-serif (for readability)
Consistency across all posters builds brand trust, something we emphasize for every design we craft at SUNYGRAPHICS.

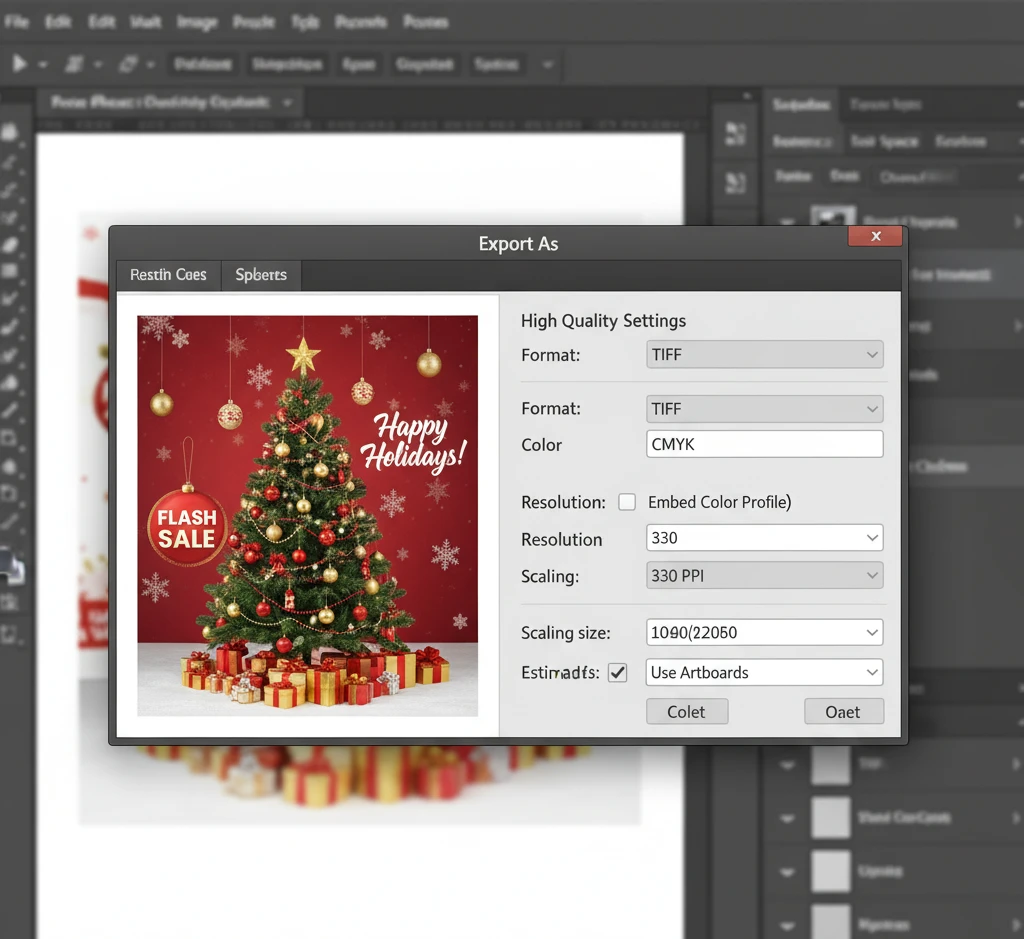
🧠 Step 7: Perfect the Final Details
Before exporting your masterpiece, double-check:
✅ Text alignment and spacing
✅ Correct logo placement
✅ Clear readability from a distance
✅ Colour balance and contrast
Then export your file properly:
-
For print: File → Export → PDF (Press Quality)
-
For web: File → Export → Save for Web (JPEG or PNG)
Use a clear name like: Christmas_Poster_Sunygraphics_2025.pdf
❤️ Step 8: Add a Human Touch
Even if it’s last-minute, your poster should feel personal.
A simple note like:
“Handcrafted locally by SUNYGRAPHICS, March, UK.”
or
“Designed with love for your festive memories.”
adds warmth and authenticity — two ingredients money can’t buy.

🎯 Bonus Step: Save as a Template for Next Year
Don’t start from scratch every holiday season. Save your poster layout as a Photoshop template (PSD). Next time, just replace the text and images.
At SUNYGRAPHICS, we create reusable, brand-aligned templates so you can stay ahead of every marketing season — even when time is against you. Visit SUNYGRAPHICS to explore our design solutions and custom templates tailored for small businesses.
🌠 Final Thoughts
Design isn’t about how much time you have — it’s about how much intention you put in.
A last-minute poster can still move hearts, attract customers, and tell your brand story beautifully.
So grab your coffee, open Photoshop, and get creative.
The season may be fast, but your design can still stop people in their tracks.
✨ Create joy. Create connection. Create beauty — with SUNYGRAPHICS
👉 Visit SUNYGRAPHICS to see how we help businesses craft professional, emotion-driven marketing visuals that sell — even under pressure.