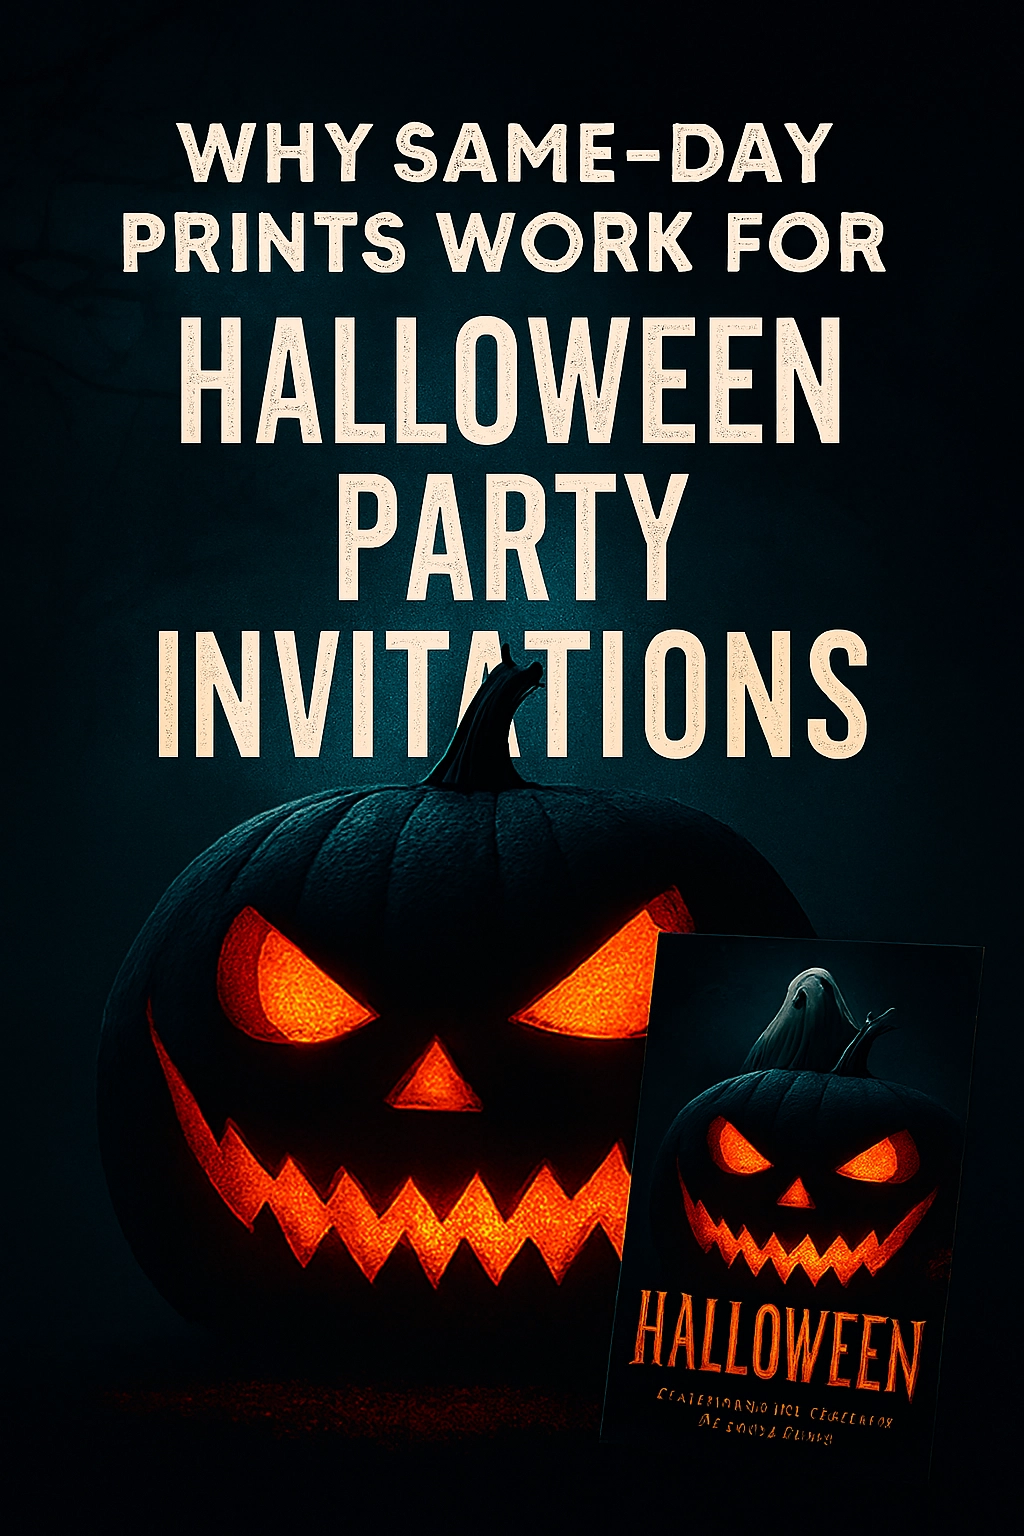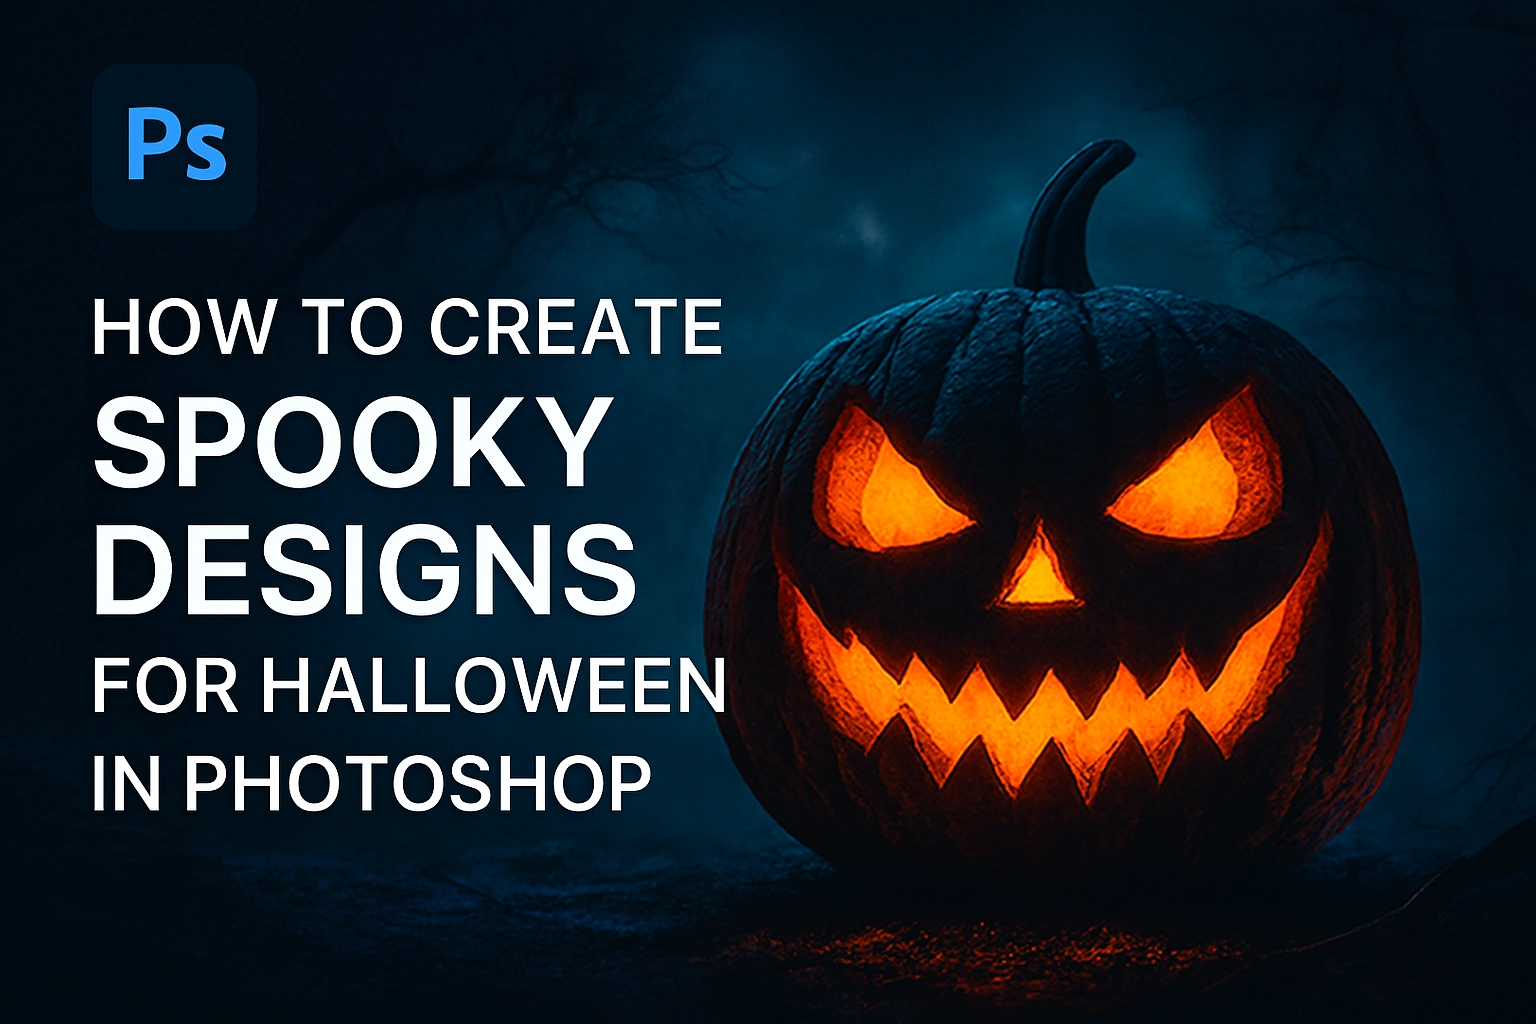
Unleash Your Inner Ghoul: A Guide to Creating Spooky Halloween Designs in Photoshop
Halloween is the perfect time to get creative. The air is crisp, the leaves are turning, and there’s a certain eerie magic begging to be captured in your designs. Whether you’re making a poster for a party, a creepy social media graphic, or a custom piece of art, Adobe Photoshop is your ultimate digital cauldron for brewing up some spine-tingling visuals.
Forget the generic clipart. In this guide, we’ll walk through the techniques to create authentically spooky designs from scratch. Let’s conjure up some darkness!
Setting the Scene: Your Spooky Canvas
Every great horror story needs the right setting. The same goes for your design.
1. Choose Your Canvas:
Start by creating a new document (File > New). The size depends on your project, but a standard 1920×1080 px at 72 DPI is great for digital use.
2. Craft Your Base Texture:
A clean, modern background is the enemy of spookiness. We need texture and grit.
-
Method A: Import Textures: Find high-resolution images of cracked walls, old paper, concrete, or grunge textures. Drag and drop them onto your canvas. Set the layer blending mode to Overlay or Soft Light and reduce the opacity to around 30-50%. This instantly adds age and depth.
-
Method B: Create Your Own: Create a new layer and fill it with a dark grey color. Go to Filter > Noise > Add Noise. Choose a moderate amount and check Monochromatic. Then, apply Filter > Blur > Gaussian Blur with a very slight radius (0.5 – 1 px). This gives a subtle, film-like grain.
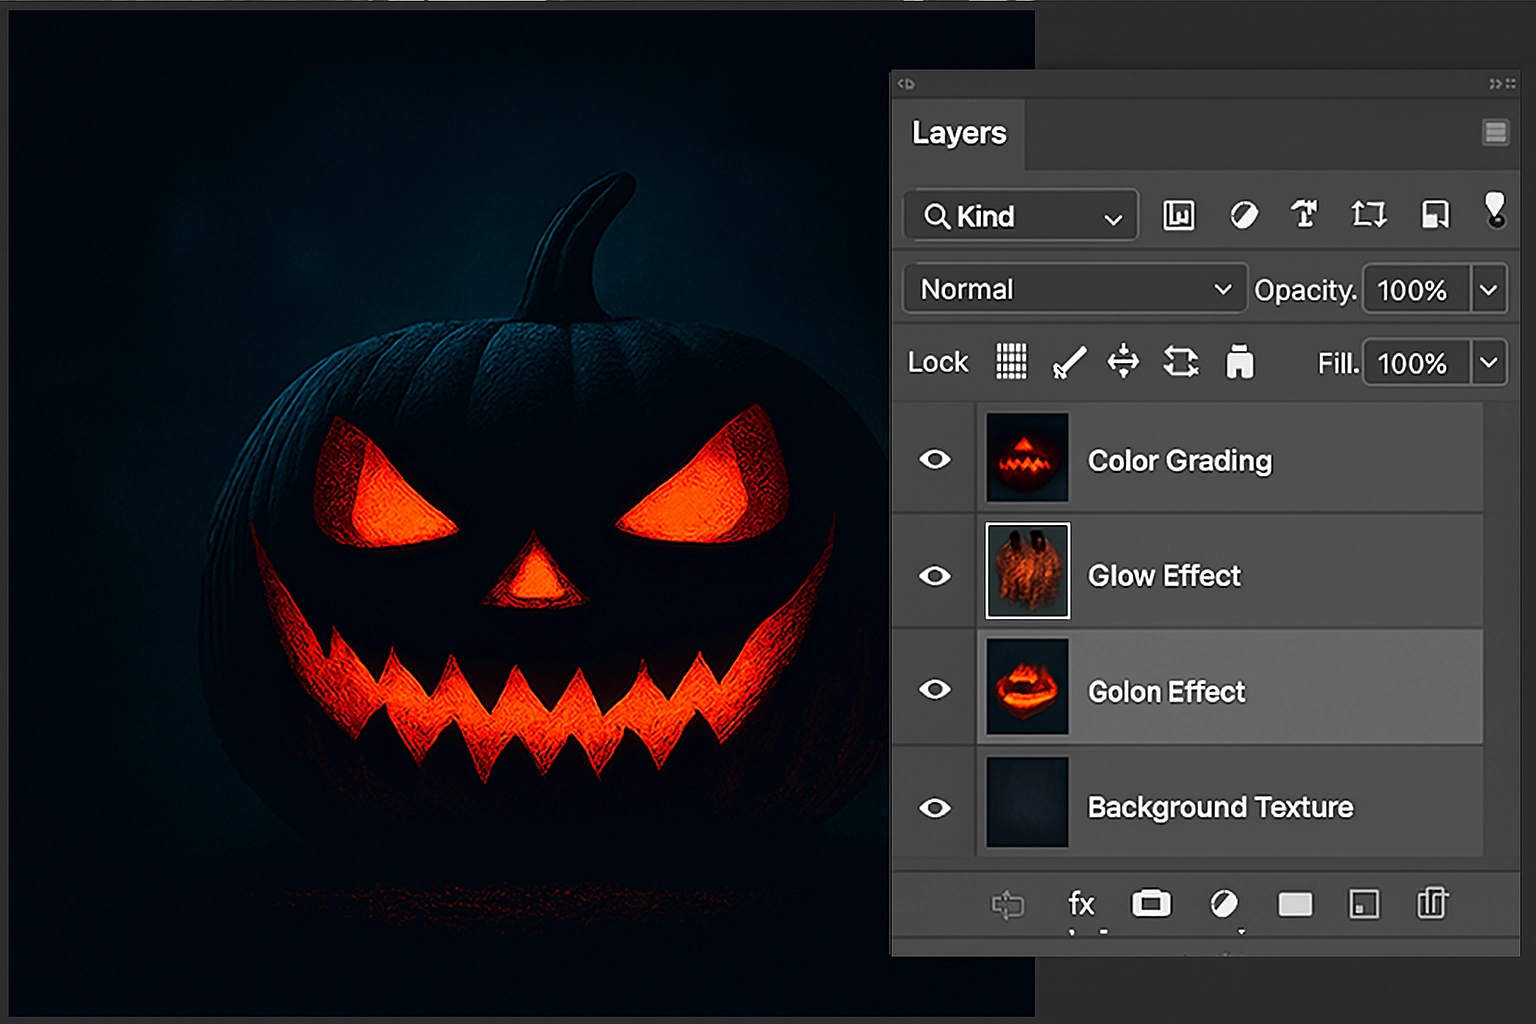
The Art of Eerie Lighting and Color
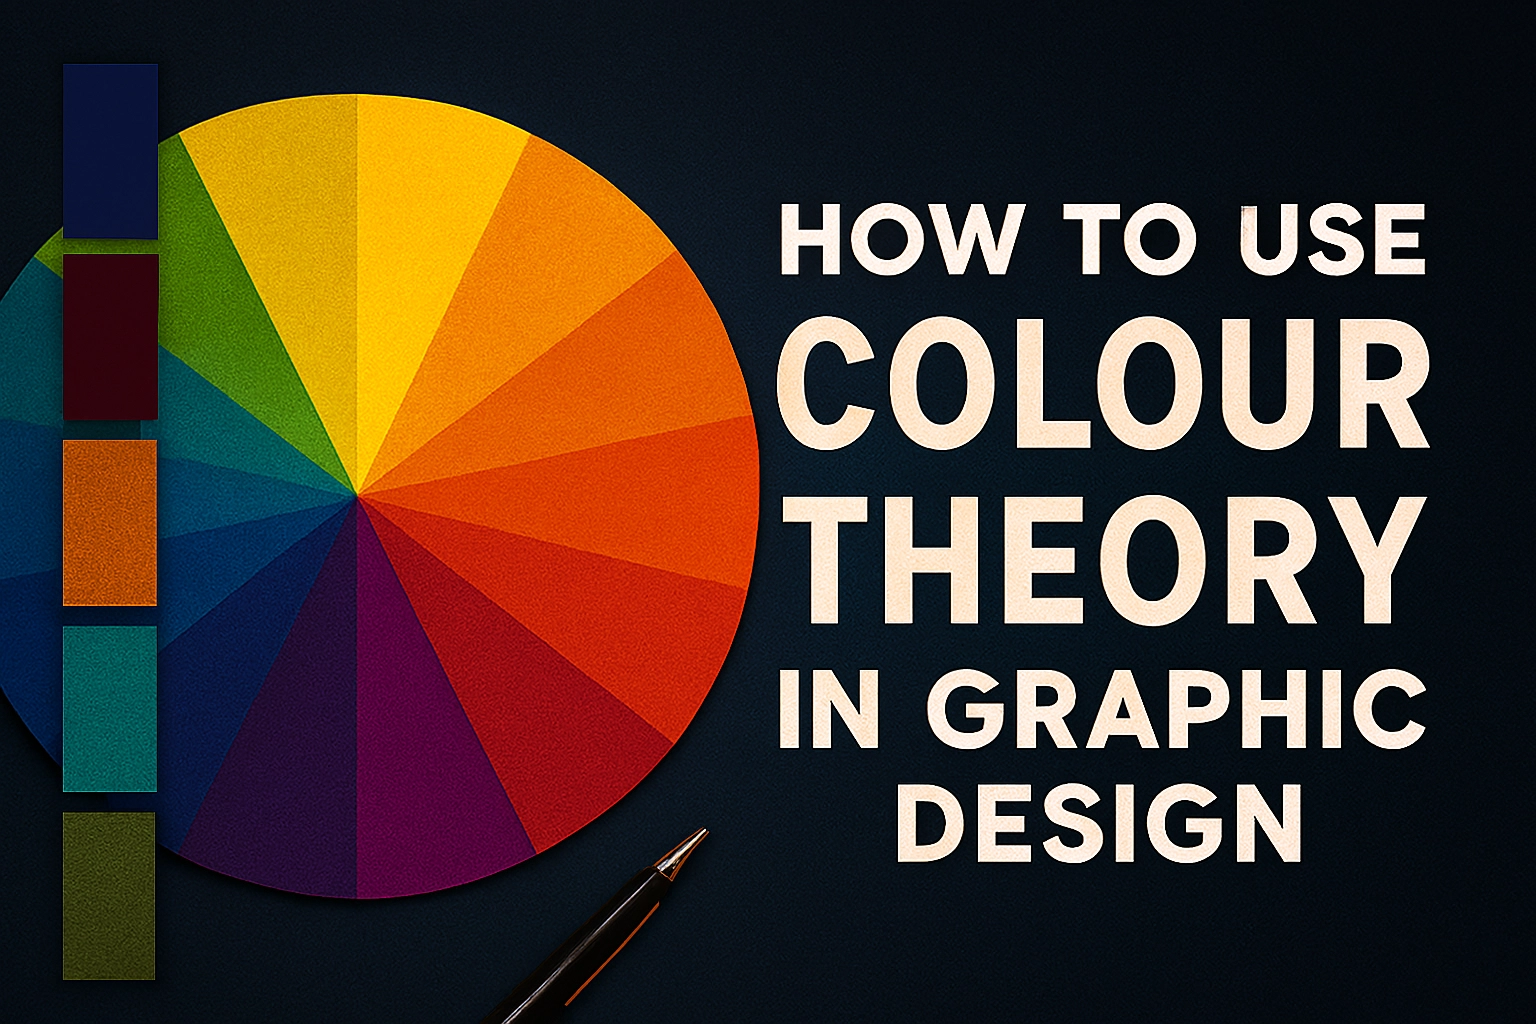
Color tells a story. For Halloween, we ditch the bright and cheerful for a palette of shadows and sinister glows.
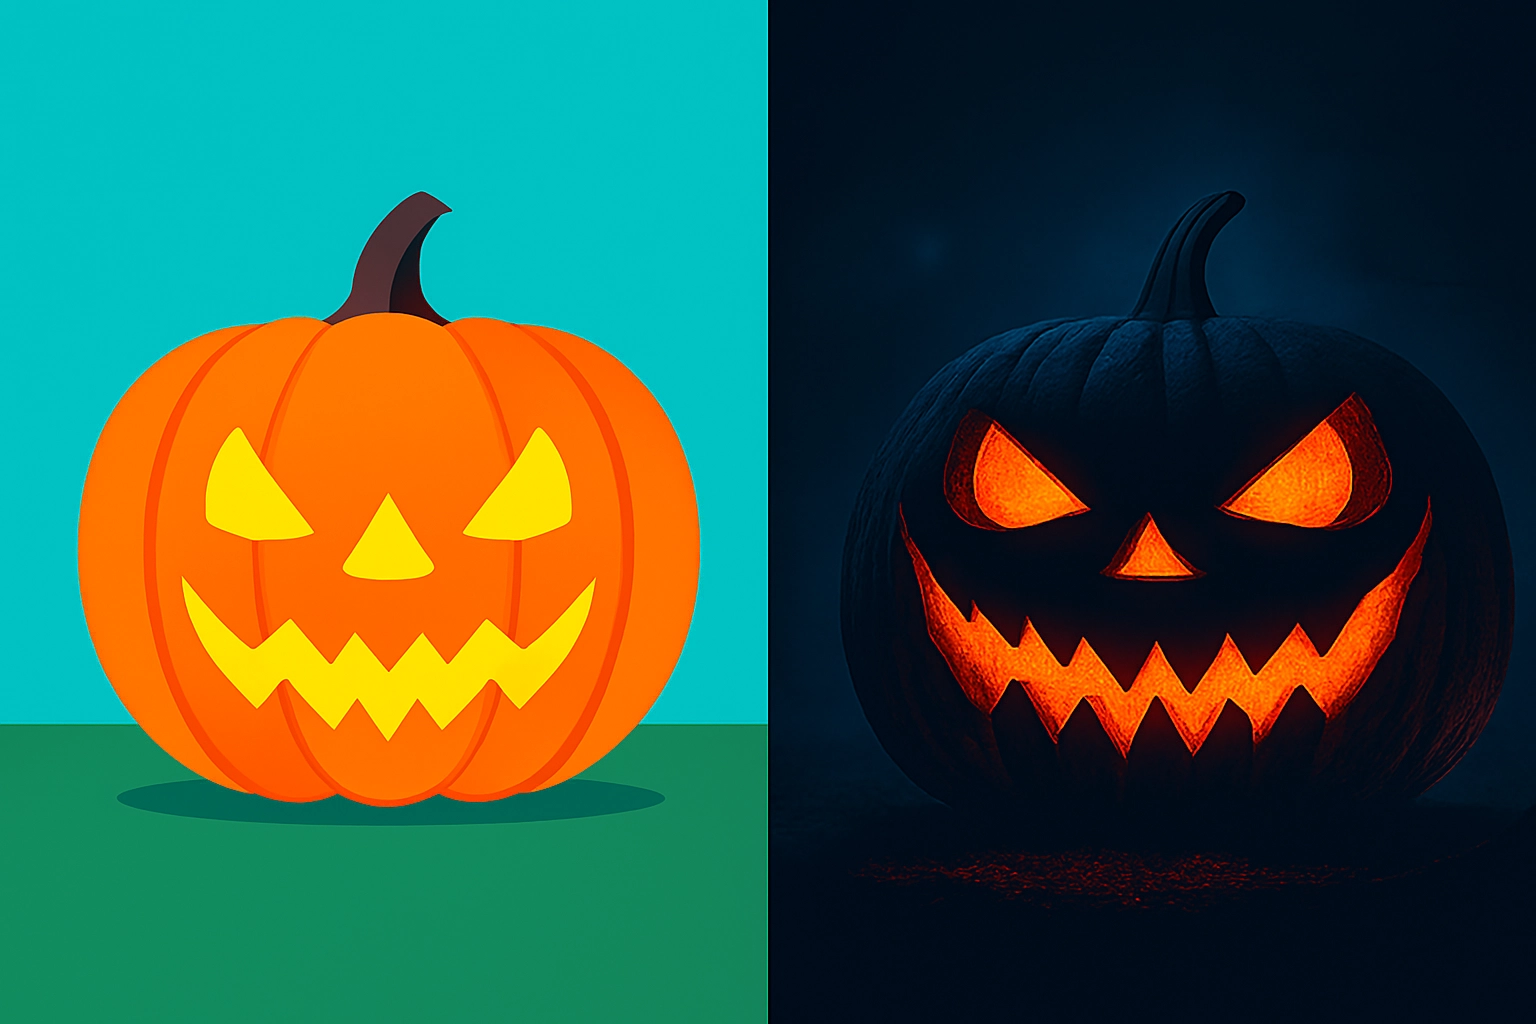
1. The Spooky Color Grade:
-
Create a Solid Color adjustment layer (found at the bottom of the Layers panel) and choose a deep, blood red or a sickly green.
-
Set this layer’s blending mode to Color and drastically lower the opacity to 10-20%. This will tint your entire composition.
-
Next, add a Gradient Map adjustment layer. Choose a gradient that goes from a deep purple (for shadows) to a fiery orange (for highlights). Set this layer’s blending mode to Soft Light and play with the opacity. This creates a dramatic, cinematic look.
2. Crafting Dramatic Light:
-
Create a new layer and, with a very soft, large brush, paint a spot of bright orange or green where you want your light source (e.g., inside a pumpkin, behind a tree).
-
Set this layer’s blending mode to Linear Dodge (Add) or Screen and reduce the opacity. This creates an intense, ethereal glow.
-
To make it feel real, use the Polygonal Lasso Tool to create light beam shapes radiating from the source. Feather the selection heavily (Select > Modify > Feather), fill it with a pale yellow, and set the layer to Overlay at a low opacity.
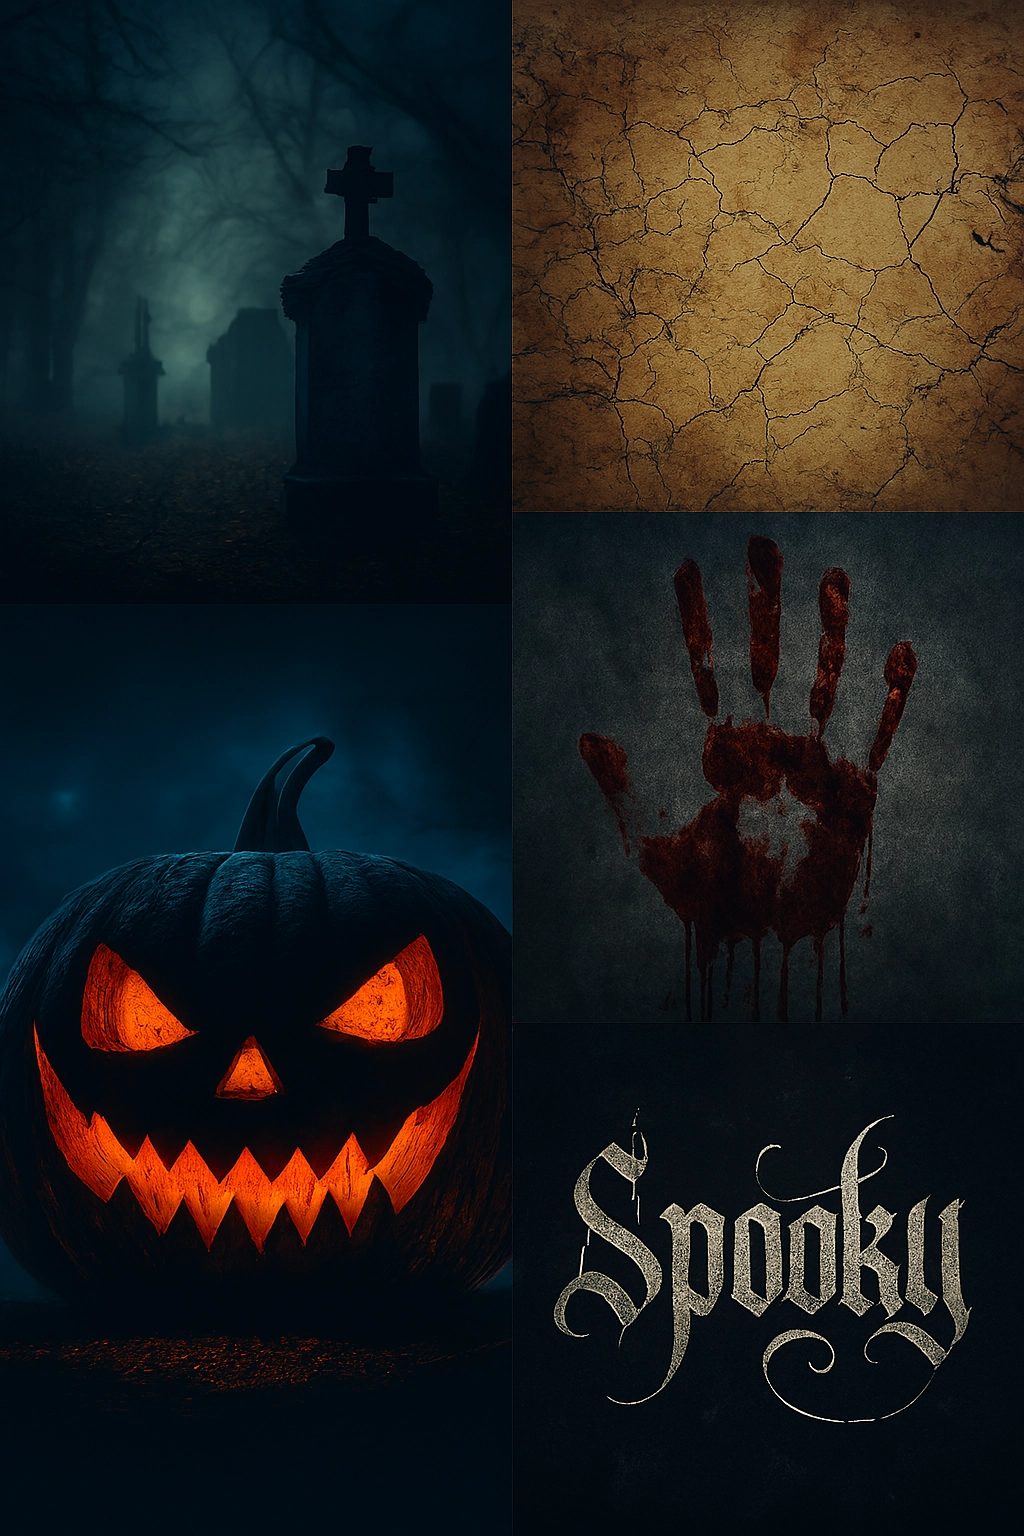
Adding Your Spooky Elements: A Witch’s Brew
This is where you add your subjects: pumpkins, ghosts, witches, and cryptic text.
1. Working with Stock Images:
When bringing in elements like a black cat or a silhouette of a witch, don’t just stop at removing the background.
-
Match the Lighting: Use a Curves adjustment layer clipped to your element (click between the layers while holding Alt/Opt) to darken it and match the shadows and highlights of your scene.
-
Add Integration: On a new layer clipped to your element, use a soft black brush to paint in some shadows on the side opposite your light source. Similarly, use a white or orange brush to paint a subtle “rim light” on the edges.
2. Creating a Ghostly Apparition:
-
Find a photo of a person. Remove the background.
-
Apply Filter > Blur > Gaussian Blur to soften their features.
-
Lower the layer’s Fill opacity (not Opacity) to around 30-40%. The Fill opacity makes the pixel content transparent but preserves any layer styles like outer glows.
-
Double-click the layer to add a Layer Style. Add a subtle Outer Glow using a pale blue or green color set to Screen.
The Final Incantation: Text and Finishing Touches
The text can make or break the mood. “Happy Halloween” in Comic Sans will kill the vibe instantly.
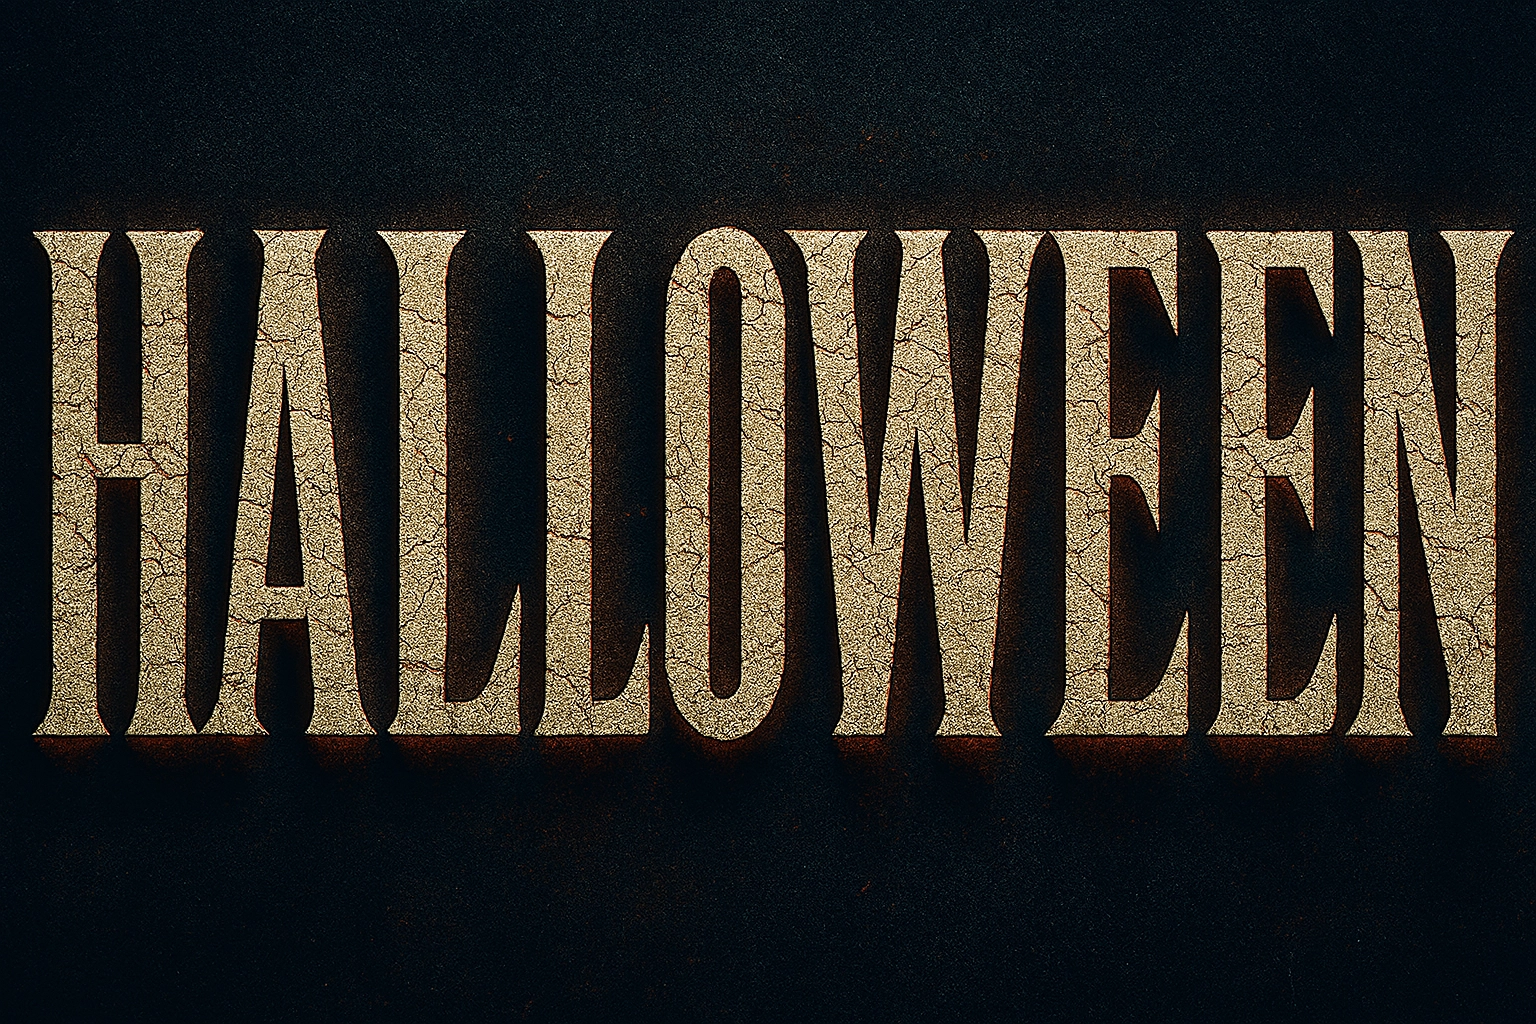
1. Choosing and Styling Fonts:
-
Font Choice: Look for fonts labeled “Gothic,” “Grunge,” “Horror,” or “Script.” They often have irregular edges and a haunting feel.
-
Layer Styles are Key: Double-click your text layer to open Layer Styles. Here’s a powerful combination:
-
Bevel & Emboss: Adds a slight 3D effect. Keep it subtle.
-
Contour: Play with this to change the bevel’s shape.
-
Texture: Use a built-in or imported texture pattern to make the text look cracked or stony.
-
Inner Shadow: Adds depth, making it look like the letters are carved.
-
Color Overlay: Set your base text color.
-
Outer Glow: A low-opacity glow in a sinister color can make text look supernatural.
-
2. The Ultimate Finishing Touch: Film Grain & Vignette
-
Merge a visible copy of all your layers onto a new layer by pressing Ctrl+Alt+Shift+E (Cmd+Option+Shift+E on Mac).
-
Go to Filter > Camera Raw Filter. In the Effects tab, add a slight Vignette to darken the edges and draw the eye inward.
-
In the Basic tab, go to the Grain section and add a small amount of grain. This unifies all the elements and makes the final image feel cohesive and authentic.

Conclusion: Practice Makes Fright
The best way to learn is to experiment. Play with different blending modes. Try combining multiple textures. See what happens when you use a deep blue instead of an orange glow. The tools in Photoshop are your potions and spells—mixing them in new ways is how you discover your unique style of magic.
So open up Photoshop, embrace the darkness, and start creating something wonderfully wicked. Happy Halloween