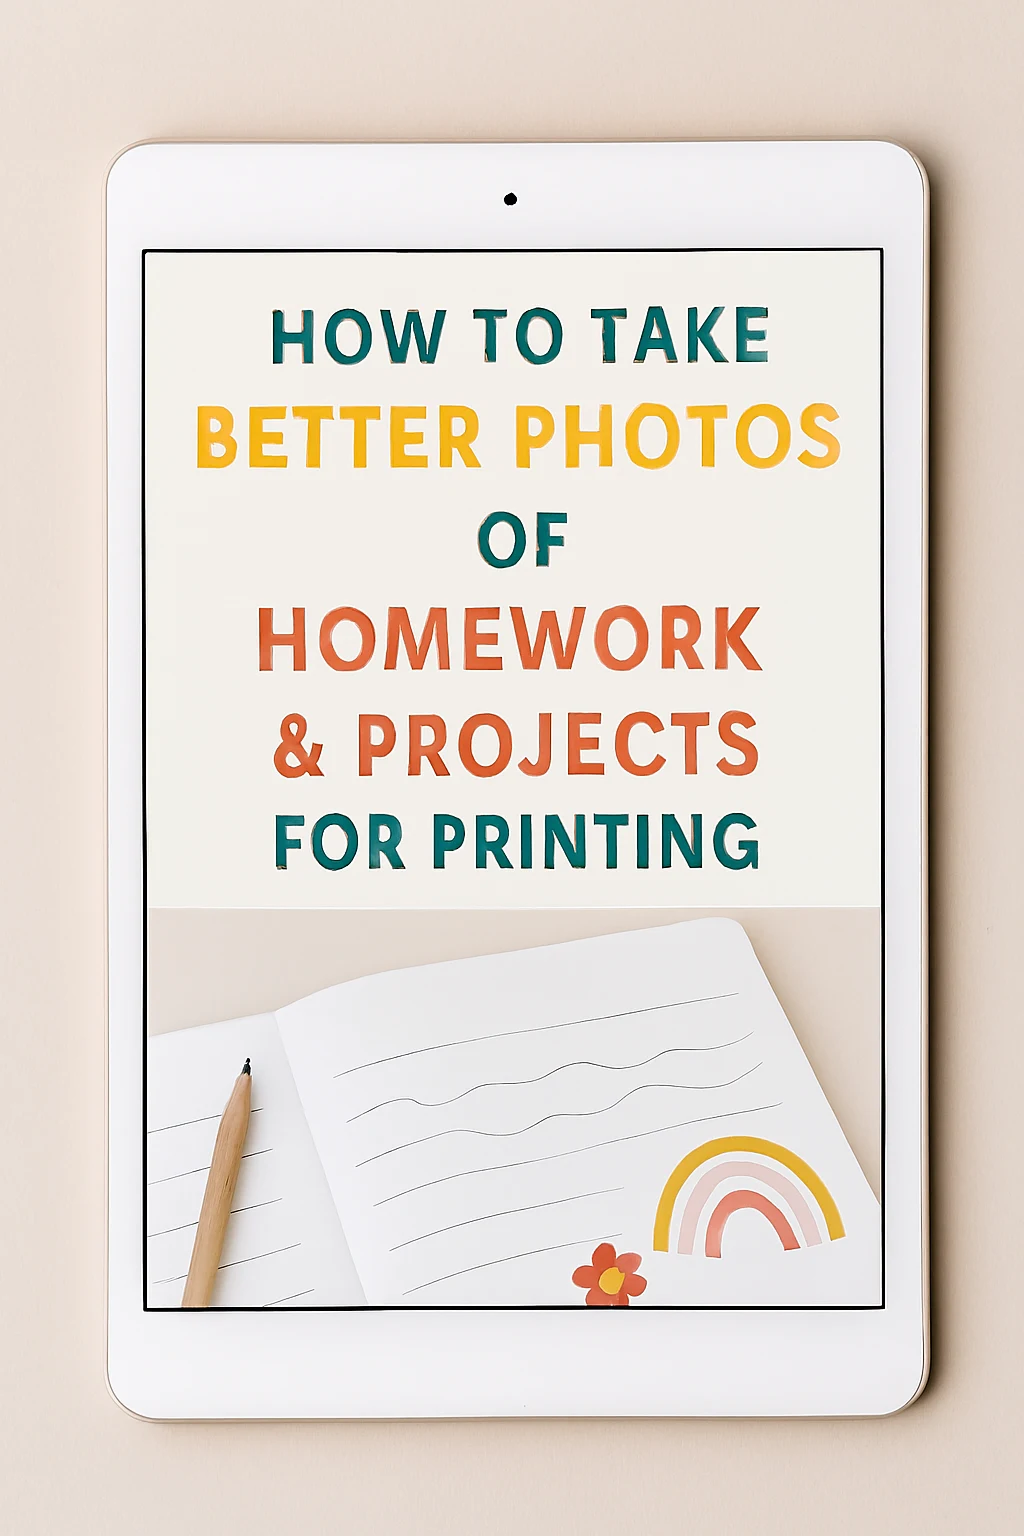
How to Take Better Photos of Homework & Projects for Printing: From Phone to Professional Print
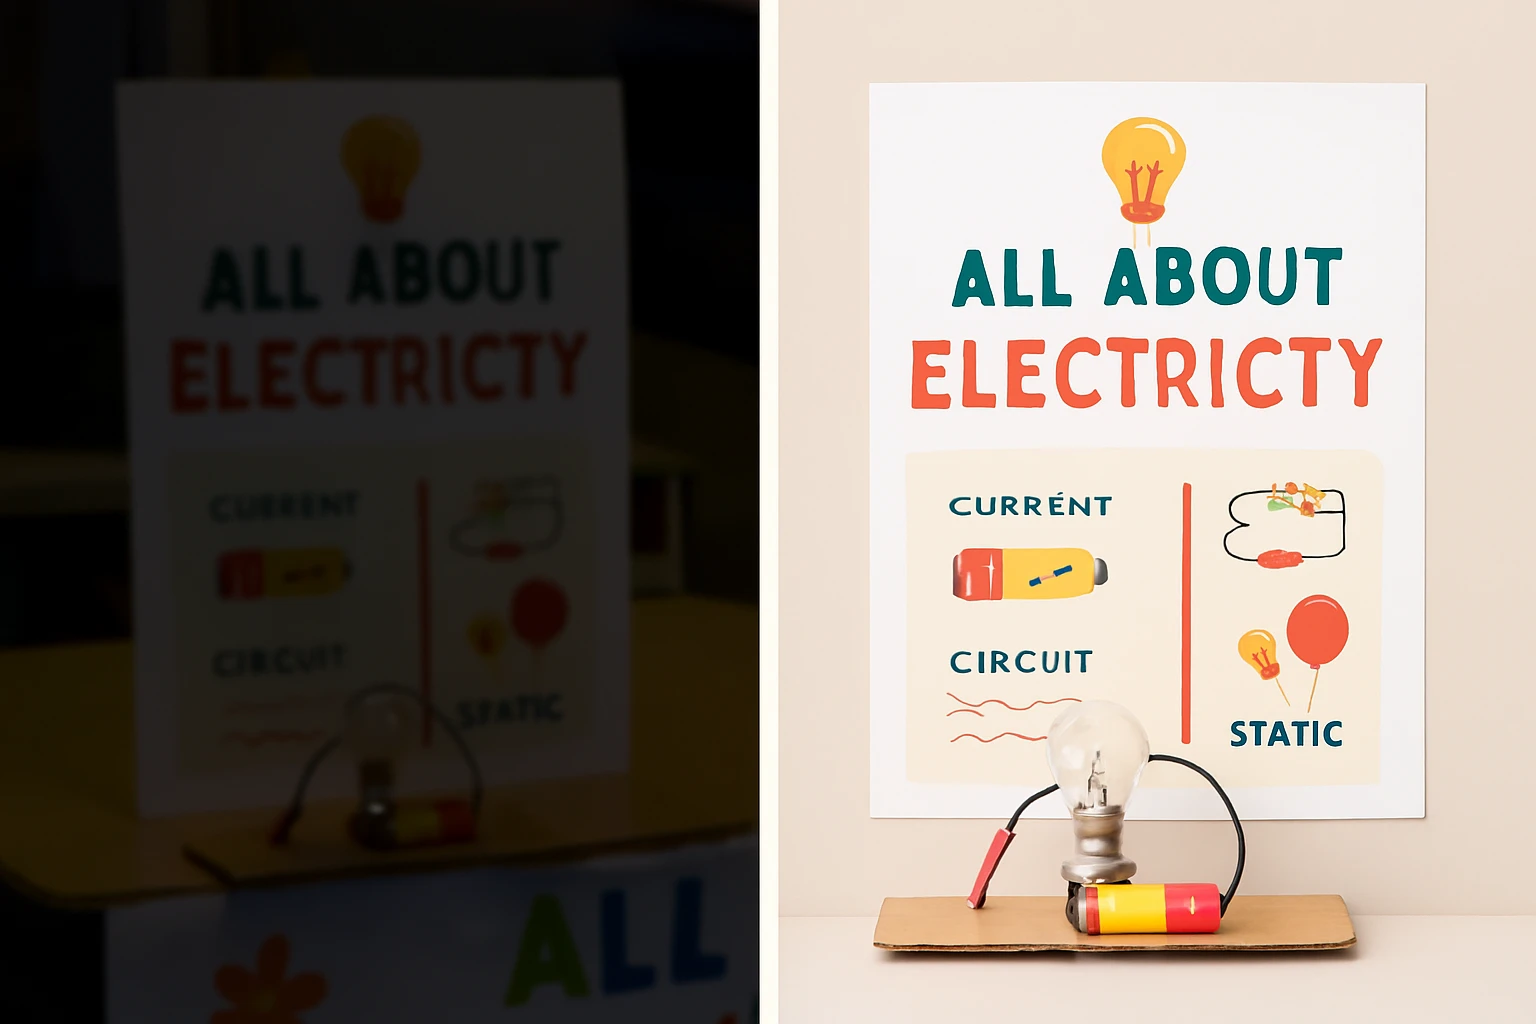
You’ve just put the finishing touch on your child’s project. The diorama of the Tudor timeline is complete, the poster for the science fair is a masterpiece of colour and information, and that hand-written story is filled with their best cursive. There’s a swell of pride—and then the realisation hits. You need to share this with grandparents, or the school requires a digital copy for their portfolio, or you want a high-quality print to frame.
You pull out your phone, snap a quick picture, and… it falls flat. The colours are dull, a shadow cuts right across the title, and you can see last night’s dinner plates in the background. The photo doesn’t do their hard work any justice.
But what if you could capture it perfectly? What if you could take a photo that looks as incredible as the project itself, ready for a beautiful print that will be cherished for years? It’s easier than you think. At www.sunygraphics.co.uk, we see the difference a great photo makes when it comes to printing, and we’re here to share the secrets.
Why a Great Photo Matters: Beyond the Digital Snapshot
In a world of quick snaps, taking a moment to photograph a project properly is an act of love. It says, “Your effort is important. Your creativity is worth preserving.”
-
Preserves the Memory Accurately: A high-quality photo captures the true colours, textures, and details that a hasty snapshot misses.
-
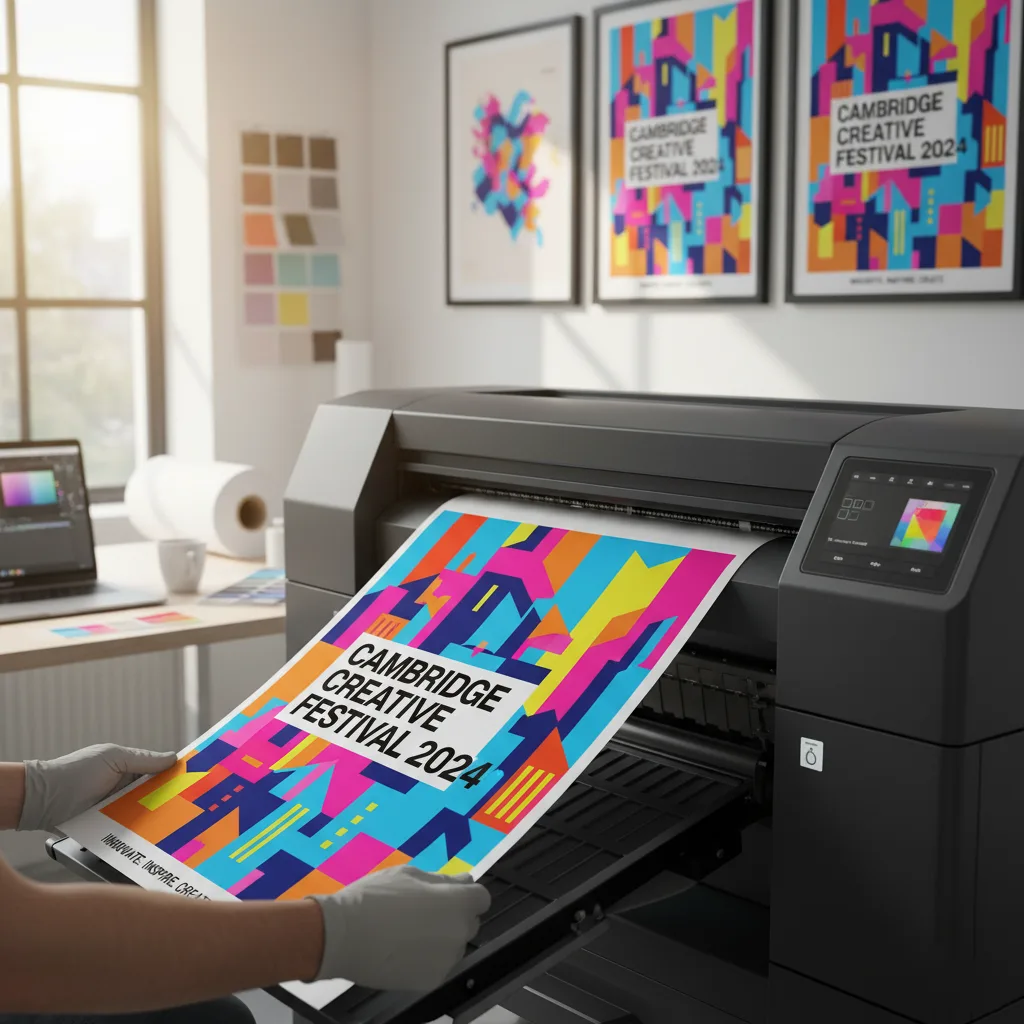
Enables Professional Printing: Whether you want a large format poster, a photo in a yearbook, or a glossy print for the fridge, a clean, high-resolution image is the essential first step. The team at www.sunygraphics.co.uk can work magic with a good file, and it all starts with your photo.
-
Boosts Their Confidence: Showing a child a beautiful, professional-looking print of their own work is a powerful confidence booster. It validates their effort and creativity.
Your Step-by-Step Guide to Capturing Project Perfection
You don’t need a fancy camera. The smartphone in your pocket is more than capable. You just need to know how to use it.
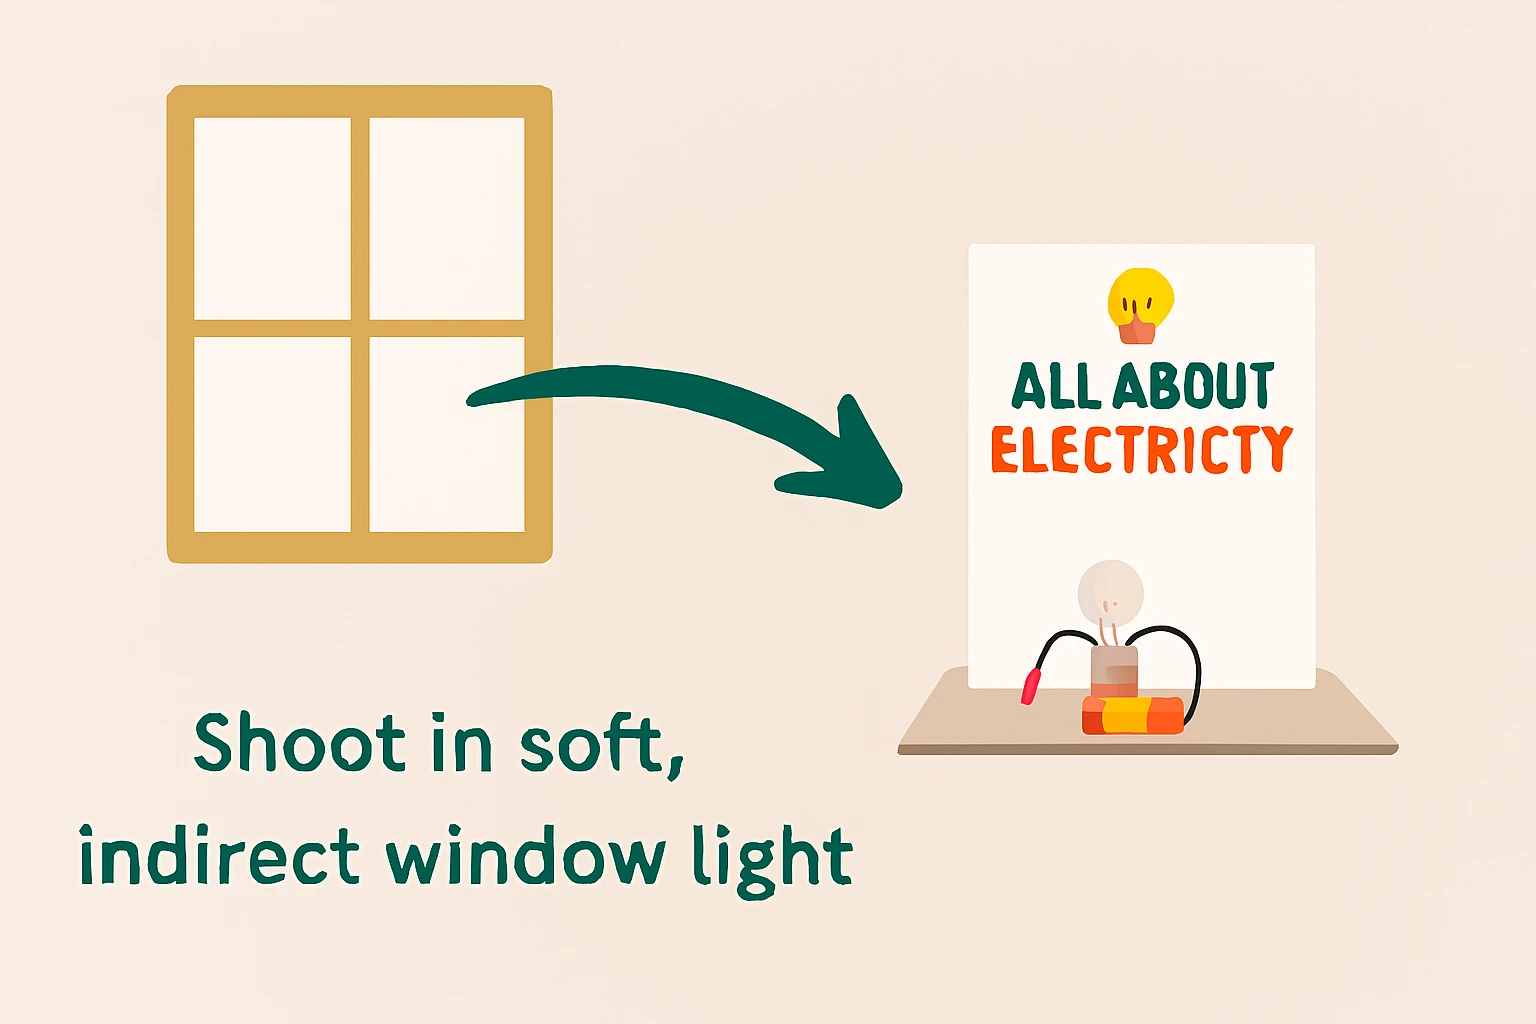
Step 1: The Foundation – Find Your Light
This is the single most important step. Bad lighting is the number one reason photos of projects fail.
-
Embrace Natural Light, Avoid Direct Sun: Find a spot next to a large window where lots of soft, indirect daylight streams in. Avoid direct sunlight, as it creates harsh, dark shadows and washes out colours. A cloudy day is actually a photographer’s best friend!
-
Turn Off Overhead Lights: Indoor tungsten or fluorescent lights often cast a weird yellow or blue tint. For the truest colours, use only natural window light.
Step 2: The Stage – Create a Clean Background
Your project is the star. Don’t let a messy background steal the show.
-
Use a Simple Backdrop: A plain white poster board, a large sheet of drawing paper, a neutral-coloured wall, or even a clean wooden floor makes for a perfect, professional-looking background.
-
Check the Edges: Before you shoot, do a quick scan around the edges of your frame. Make sure no toys, power cords, or other clutter has crept into the shot.
Step 3: The Technique – Steady Your Shot & Get Sharp
-
Clean Your Lens: It sounds simple, but a smudged camera lens is a common cause of blurry photos. Give it a quick wipe with a soft cloth.
-
Hold Steady or Use a Tripod: Shaky hands cause blur. Rest your elbows on a table, or lean against a wall. For ultimate sharpness, a small smartphone tripod is a fantastic, inexpensive investment.
-
Fill the Frame: Get close enough so that your project takes up most of the screen. You don’t want a tiny project lost in a sea of background.
Step 4: The Camera Settings – Unleash Your Phone’s Power
Forget the instant filters and fancy modes for now. Let’s get back to basics.
-
Tap to Focus: Open your phone’s native camera app. Tap directly on the most important part of your project on the screen. This tells the camera exactly where to focus and often adjusts the exposure for that spot.
-
Adjust Exposure Manually (if needed): After you tap to focus, you’ll often see a small sun icon next to a vertical slider. If the image looks too dark, slide your finger up to brighten it. If it’s too bright and washed out, slide down to darken it.
-
Use the Timer: Using the 3 or 10-second timer eliminates any last bit of camera shake from you pressing the shutter button, guaranteeing the sharpest possible image.

Step 5: The Finishing Touches – Simple Editing
A tiny bit of editing can make a good photo great. You can do this right in your phone’s photo gallery.
-
Straighten: Use the crop tool to straighten any crooked lines.
-
Adjust Brightness & Contrast: A slight nudge to the “Brightness” can lift the image, and a touch of “Contrast” can make the colours pop without needing a filter.
-
Avoid Heavy Filters: The goal is to represent the project accurately. Heavy, artistic filters can change the colours and look unprofessional when printed.
Going the Extra Mile: Pro Tips for Specific Projects
-
For 3D Models & Dioramas: Take the photo from the corner at a slight angle to show depth and dimension, rather than straight on.
-
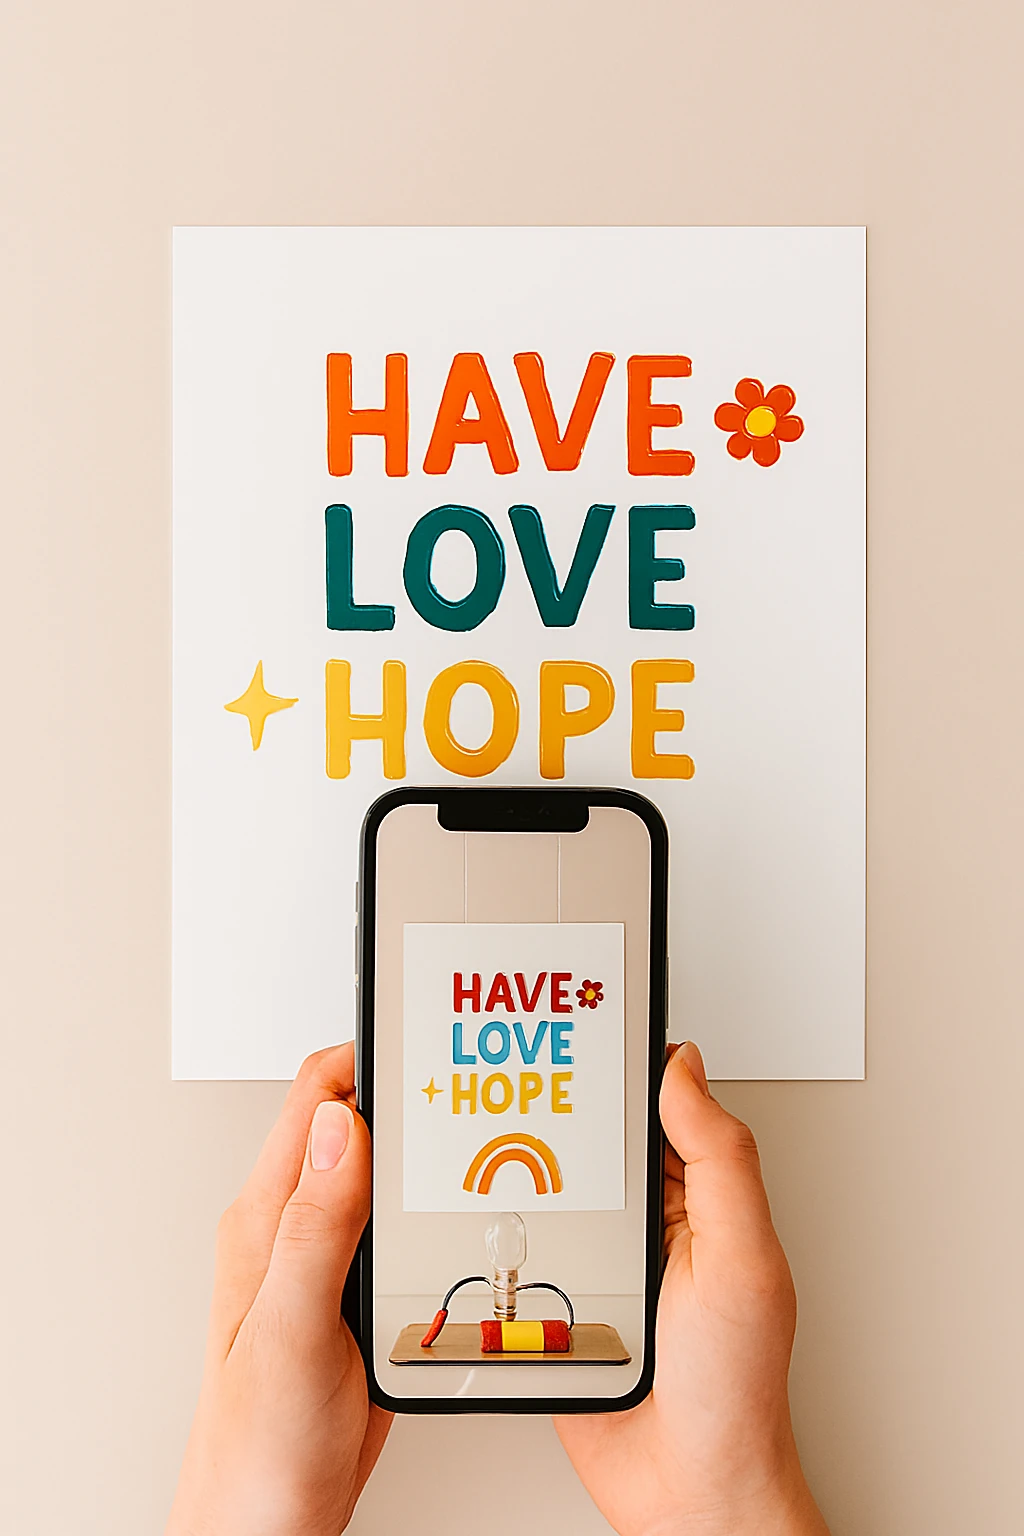
For Flat Artwork & Posters: Lay it flat on the floor in that perfect window light. Stand directly over it, ensuring your phone is parallel to the artwork to avoid distortion. This is the ideal method for capturing drawings and paintings for high-quality printing at www.sunygraphics.co.uk.
From Capture to Cherished Print
You’ve done it. You’ve captured a photo that truly honours the time, creativity, and love that went into that school project. That digital file is no longer just a quick snapshot; it’s a preservation of a moment in time, ready to be shared and celebrated.
The final step is to see it come to life in print. Imagine that crisp, colour-perfect photo transformed into a glossy A3 poster for their bedroom wall, or a durable laminated print they can take to school with pride. Your effort behind the camera ensures the final product is nothing short of stunning.
Ready to turn that perfect photo into a beautiful, tangible piece of art? Let the experts at www.sunygraphics.co.uk help you choose the perfect paper, finish, and size to do your child’s project—and your photography skills—the ultimate justice.