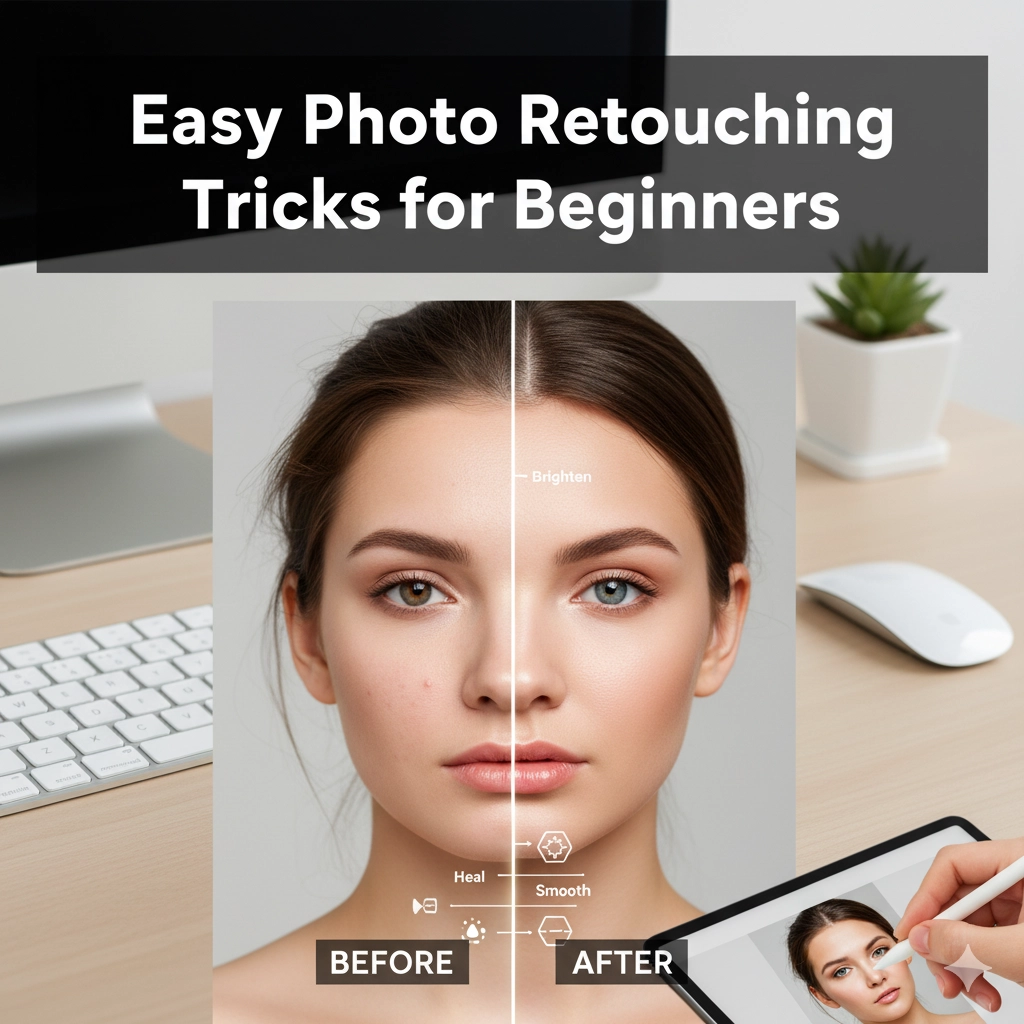
Easy Photo Retouching Tricks for Beginners: From Snaps to Stunning
Contact us here for photo retouching and editing
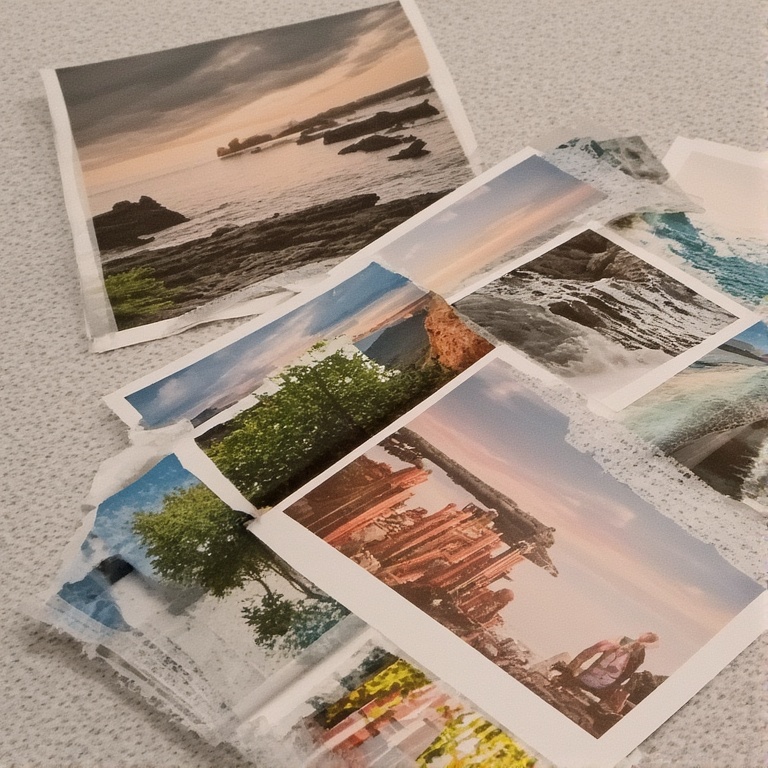
You’ve taken a great photo. The lighting is decent, the composition is nice, but something’s holding it back. Maybe it’s a few stray blemishes, a colour cast that makes everyone look slightly orange, or the whole image just feels a bit flat.
This is where photo retouching comes in. And before you panic, thinking it requires the skills of a Hollywood CGI artist, let us stop you right there. Modern editing tools have made it incredibly easy for anyone to perform magic on their images.
This guide is designed for absolute beginners. We’ll walk through simple, non-destructive tricks that will elevate your photos from “okay” to “wow” without needing a degree in graphic design. Let’s unlock the potential hiding in your camera roll.
1. The Golden Rule: Always Work on a Copy
Before you touch a single slider, make this your mantra: never edit your original photo. Always duplicate the image file first. This ensures you have a pristine original to go back to if you need to start over. It’s the digital equivalent of measuring twice and cutting once.
2. The Foundation: Cropping and Straightening
Often, the most powerful edit is about what you remove, not what you add.
-
The Trick: Use the crop tool to clean up your composition. Look for distracting elements at the edges of your frame and crop them out. Most importantly, use the straightening tool to fix crooked horizons. A slightly tilted photo can feel subconsciously “off.” Aligning it with a horizontal or vertical line instantly makes it look more professional.
-
Pro Tip: Enable the “Rule of Thirds” grid overlay in your cropping tool. Try placing your main subject on one of the intersecting grid lines for a more dynamic composition.
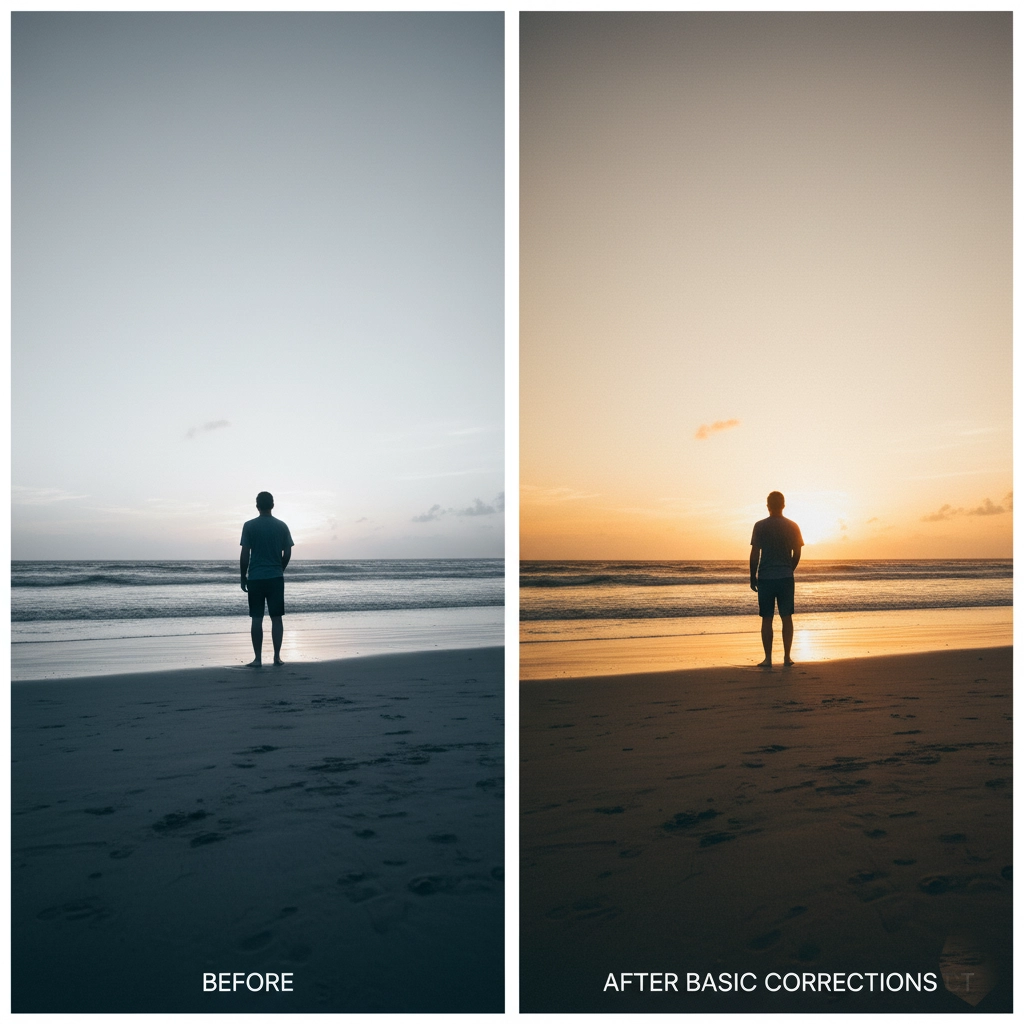
3. The Magic Trio: Exposure, Contrast, and White Balance
These three adjustments in any basic photo editor are your most powerful tools. You’ll find them in apps like Google Photos, Apple Photos, Lightroom Mobile, and Canva.
-
Exposure: This controls the overall brightness of the image. Is your photo too dark (underexposed) or too washed out (overexposed)? Gently nudge the exposure slider until the image looks naturally lit.
-
Contrast: This adjusts the difference between the darkest and lightest parts of the image. Increasing contrast makes the colours pop and adds a sense of depth. Decreasing it can create a softer, dreamier look. A small increase usually works wonders.
-
White Balance: This is the secret weapon for fixing colours. Does your photo look too blue (cool) or too yellow (warm)? This often happens under artificial lighting or in shade. Use the white balance slider to neutralize the colour cast until the whites in the image look truly white.
4. The Detail Enhancers: Sharpening and Clarity
These tools add that final “sparkle” to your image, but the key is subtlety.
-
Sharpening: This enhances the edges of objects in your photo, making it look crisper. It’s fantastic for bringing out details in eyes, hair, and textures. Overdoing it, however, makes the image look gritty and unnatural. Start with a small amount and zoom in to check the effect.
-
Clarity: This tool adds mid-tone contrast, which gives an image a sense of structure and depth. It can make a flat-looking landscape suddenly feel three-dimensional. Like sharpening, a little goes a long way. For portraits, use clarity sparingly as it can enhance skin imperfections.
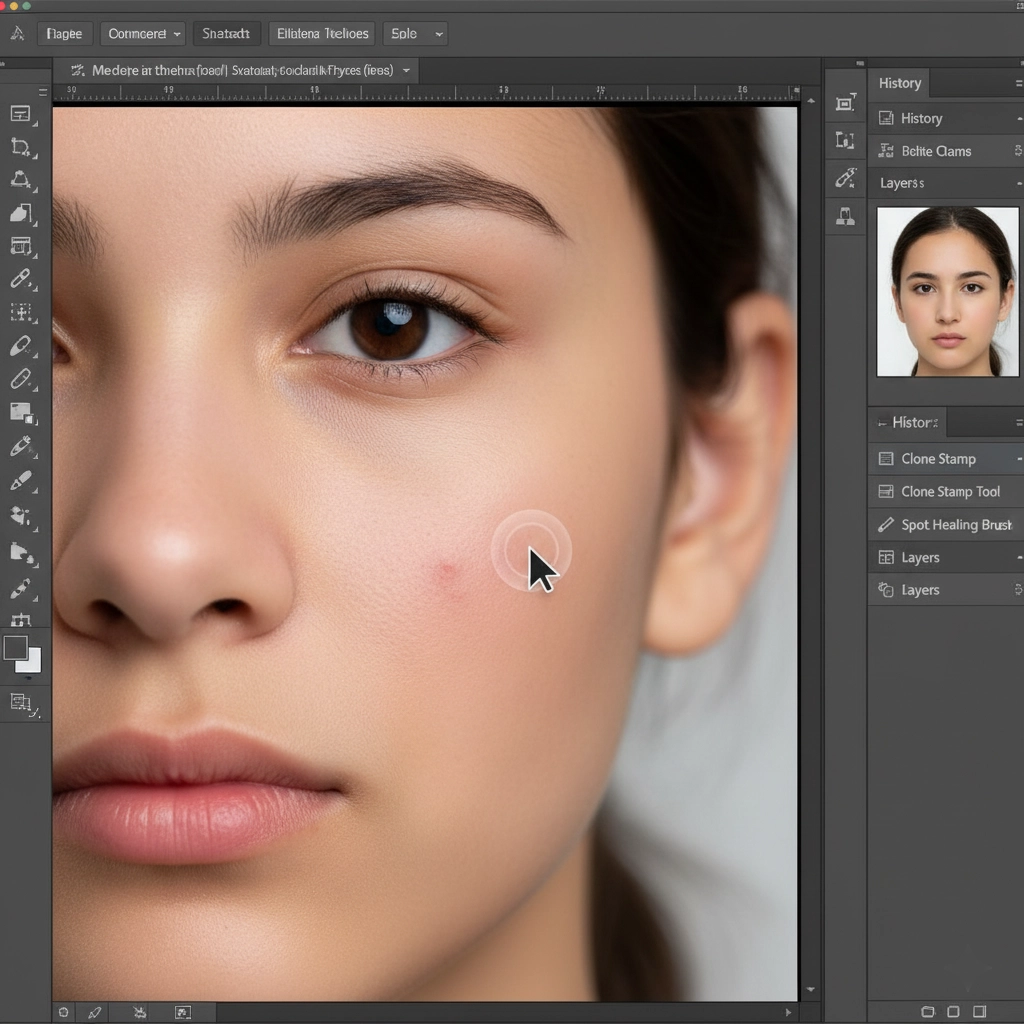
5. Beginner-Friendly Blemish and Object Removal
Want to remove a stray piece of litter, an accidental photobomber, or a temporary skin imperfection? You don’t need advanced Photoshop skills.
-
The Trick: Look for a tool called “Spot Heal,” “Blemish Remover,” or “Clone Stamp.” The healing brush is the easiest for beginners: you simply click or brush over the element you want to remove, and the software automatically samples the surrounding area to blend it away seamlessly.
-
Pro Tip: Zoom in closely for precision work. For larger objects, work on small sections at a time for a more natural result.
6. The Portrait Polish (Without Looking Fake)
Retouching people is all about enhancing natural beauty, not creating a plastic doll.
-
Teeth Whitening: Use a selective adjustment brush if your app has one. Gently brush over the teeth and slightly increase exposure or whiteness. Avoid going too bright—aim for a natural, healthy smile.
-
Soften Skin: Instead of using a heavy-handed blur filter, try this. If your editing app has a brush, reduce the clarity or sharpness setting and gently brush over the skin (avoiding eyes, eyebrows, lips, and hair). This softens skin texture without sacrificing important detail.
-
Enhancing Eyes: A subtle trick is to use a dodge tool (or a brush that increases exposure) to lightly brighten the whites of the eyes and the iris. This makes eyes look brighter and more awake.
7. The Final Check: Step Away and Zoom Out
After you’ve made your edits, it’s easy to get lost in the details. The final, crucial step is to:
-
Zoom out to 100% to see the image as a whole.
-
Look away for a minute, then look back. Does the image still look natural?
-
Compare your edited version with the original to make sure you’ve actually made an improvement and not gone overboard.
Your Retouching Journey Starts Here
Remember, the goal of photo retouching isn’t to create a fake reality; it’s to help your photo communicate the feeling and beauty of the moment you experienced. It’s about correcting distractions and enhancing the story already present in the image.
Start with these simple tricks. Practice on your favourite photos and watch them transform. The best part? There’s no permanent damage. You can always undo, reset, and try again. So open up your camera roll, pick a photo, and start experimenting. You might just surprise yourself with the stunning results you can achieve
To know how to edit photos in Lightroom, click here