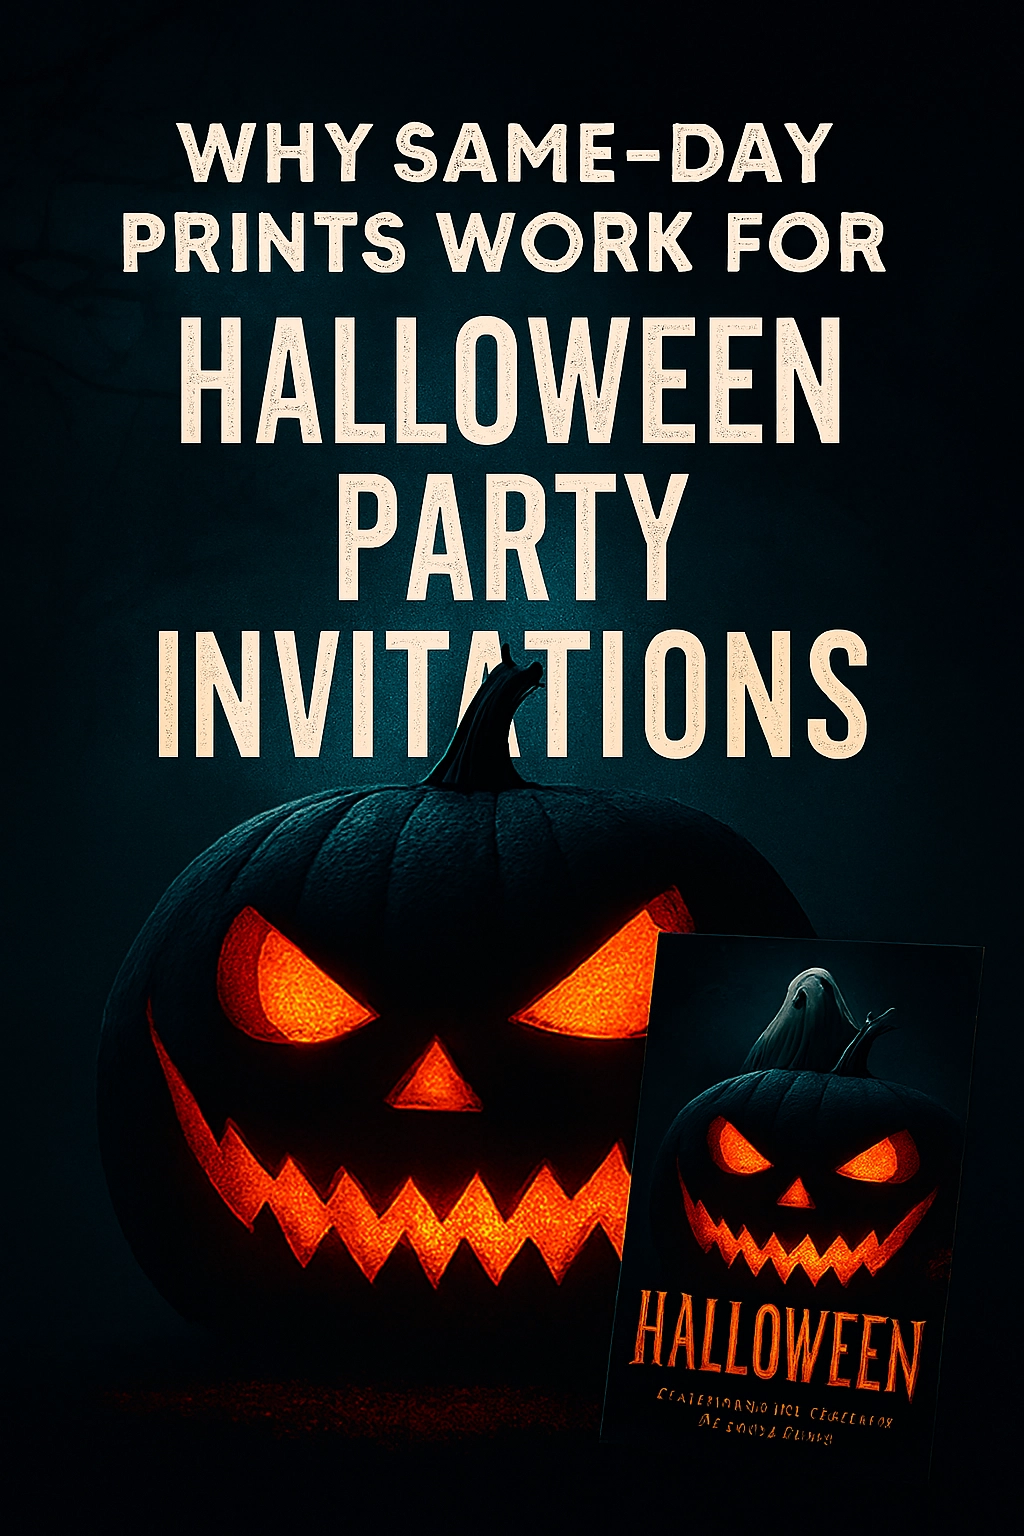
No More Printing Panic: Your Guide to Flawless Same-Day Halloween Invites
So, you’ve decided to throw an epic Halloween party. The theme is set, the playlist is creepy, and the snack ideas are to die for. There’s just one tiny, terrifying hurdle: the invitations need to be printed today. The party is just around the corner, and you need those invites in hand ASAP.
Don’t let the time crunch spook you. With a little preparation, getting your invites from the screen to your hands on the same day is entirely possible. This guide will walk you through every step to ensure your same-day print job is a success, leaving you with more time to perfect your zombie dance moves.
Step 1: Design with Printing in Mind (The Digital Blueprint)
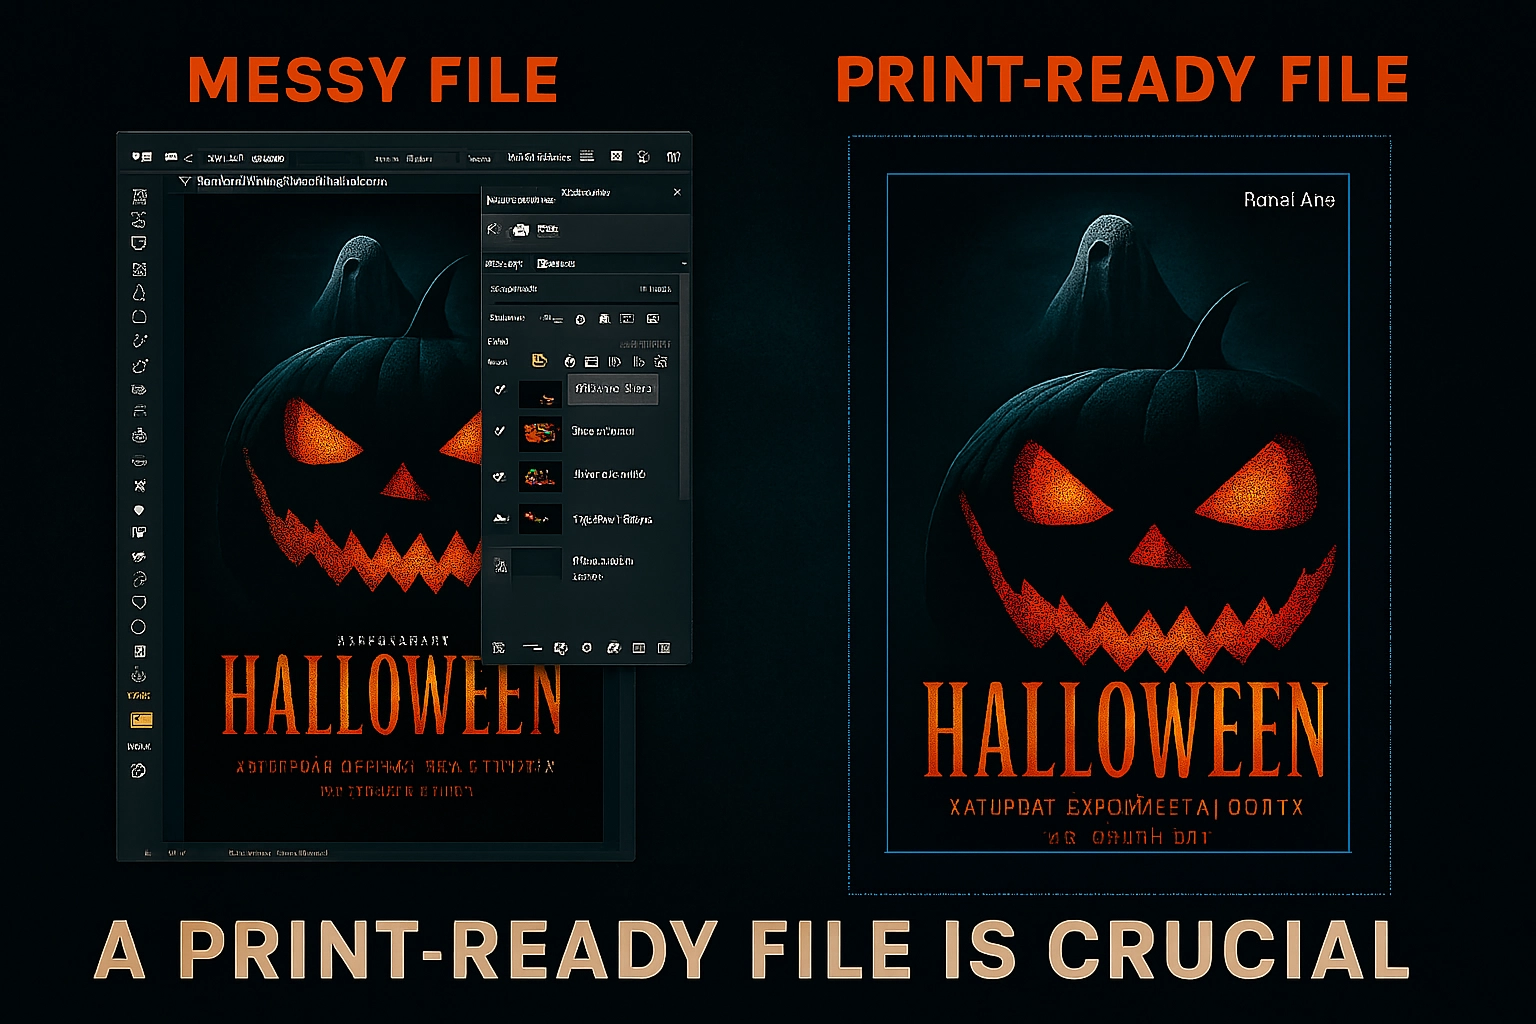
Before you even think about hitting “print,” your document needs to be set up correctly. This is the most crucial step to avoid costly and time-consuming errors.
-
Bleed, Bleed, Bleed! This is the number one rule. “Bleed” is the extra margin of color or image that extends beyond the final cut edge of your invite. Printers need this to avoid unsightly white edges if the cut is even a millimeter off.
-
How to do it: When creating your document in software like Photoshop, Canva, or Adobe Illustrator, add 0.125 inches to 0.25 inches to each dimension. If your final invite is 5×7 inches, set your canvas size to 5.25×7.25 inches. Extend your background design all the way to this outer edge.
-
-
Resolution is Key: Screen resolution (72 DPI) looks blurry and pixelated when printed. For sharp, professional-looking invites, your file must be set to a minimum of 300 DPI (Dots Per Inch). You can usually set this when you create a new document.
-
Color Mode: CMYK, not RGB. Monitors use RGB (Red, Green, Blue) light to create colors. Printers use CMYK (Cyan, Magenta, Yellow, Black) ink. An electric neon green on your screen might print as a dull, murky green if you don’t convert the color profile.
-
How to do it: In your design software, go to your color settings or mode and select CMYK Color. It’s best to do this at the start of your project.
-
-
Flatten and Export: Before sending it off, flatten your image layers (especially in Photoshop) and save a copy as a high-quality PDF. PDFs are the standard for print shops as they embed all your fonts and formatting.
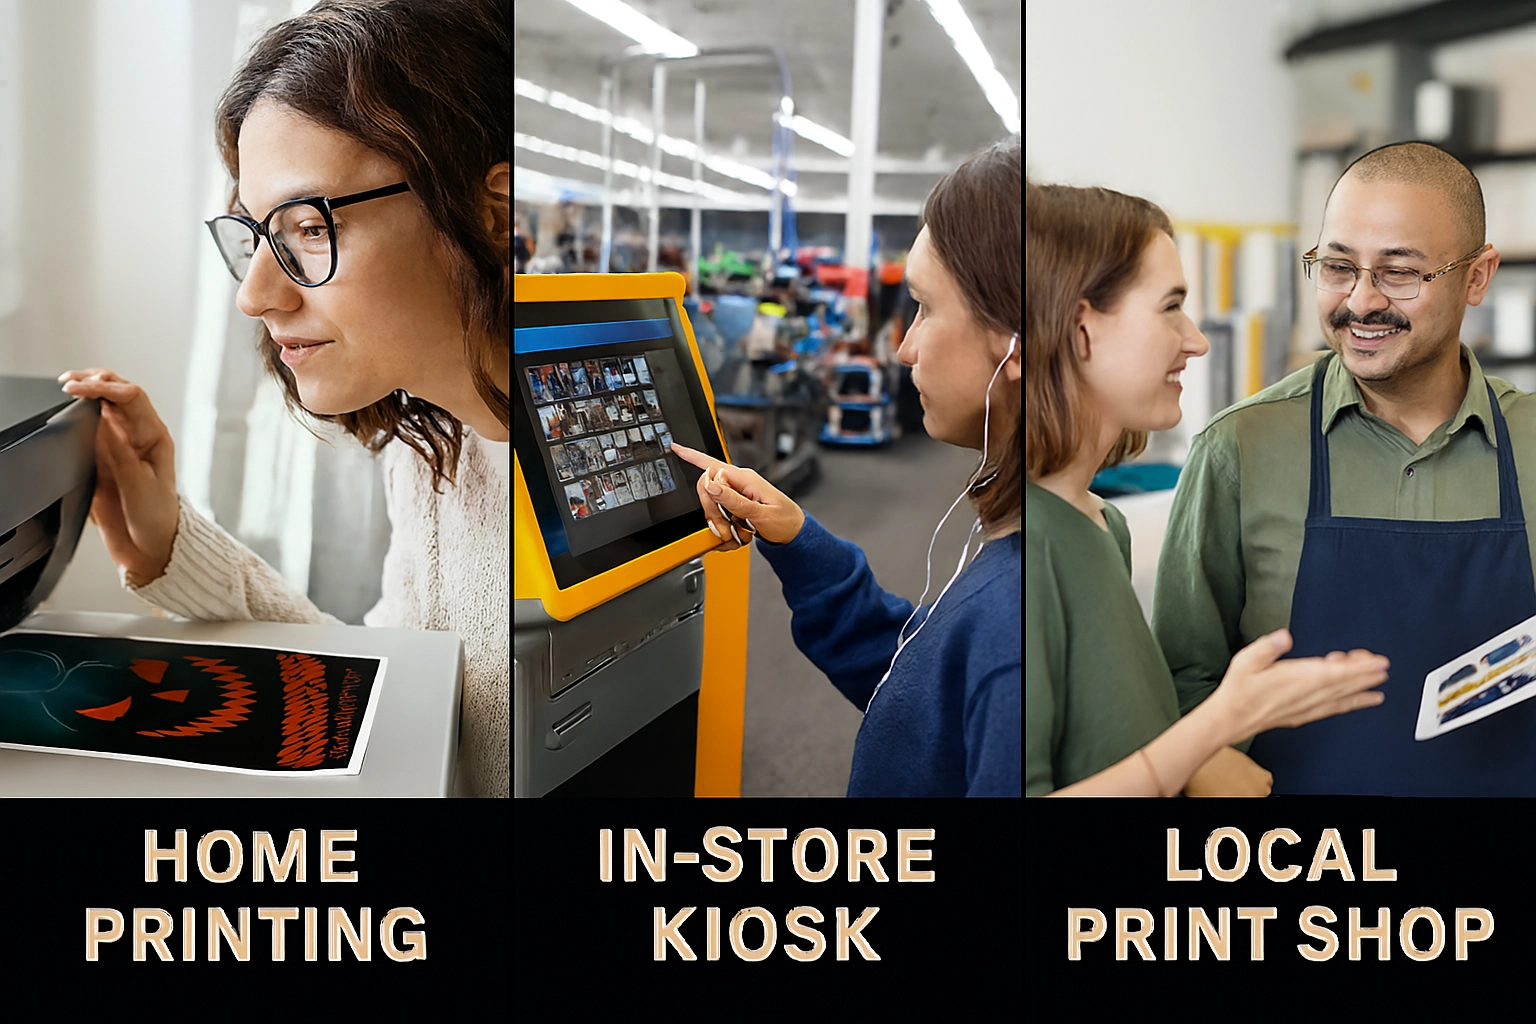
Step 2: Choosing Your Printing Partner (The Quickest Path)
Not all print options are created equal, especially when you’re on a tight deadline.
-
Option 1: The Home Printer
-
Best for: Ultra-last minute (as in, party-is-tomorrow last minute) and very small batches.
-
The Reality: Inkjet printers can be slow, expensive on ink, and limited on paper stock. Your results might look obviously homemade. If you go this route, invest in high-quality, heavy cardstock paper designed for your printer type. Do a test print on regular paper first to check colors and alignment.
-
-
Option 2: The Big-Box Store (Office Supply Stores, etc.)
-
Best for: The sweet spot of speed, quality, and affordability for same-day needs.
-
The Process: Many of these stores have self-service kiosks where you can plug in a USB drive with your PDF and print yourself in minutes. For larger quantities or nicer paper, you can submit your file online for “while-you-wait” or “within-the-hour” in-store pickup. Call ahead first to confirm their current turnaround time and that their kiosk is operational.
-
-
Option 3: The Local Print Shop
-
Best for: The highest quality and specialized materials (e.g., metallic ink, unique cuts, thick cardstock).
-
The Process: A professional print shop will offer the best advice and highest quality. They can often turn jobs around in a few hours if they aren’t swamped. The key here is communication. Call them, explain your tight deadline, and ask if it’s feasible before you drive over. Email them your print-ready PDF to save time.
-
Step 3: The Pre-Print Proofing Ritual (Double-Check Everything!)
You’ve designed it, you’ve chosen your printer—now for the final safety check.
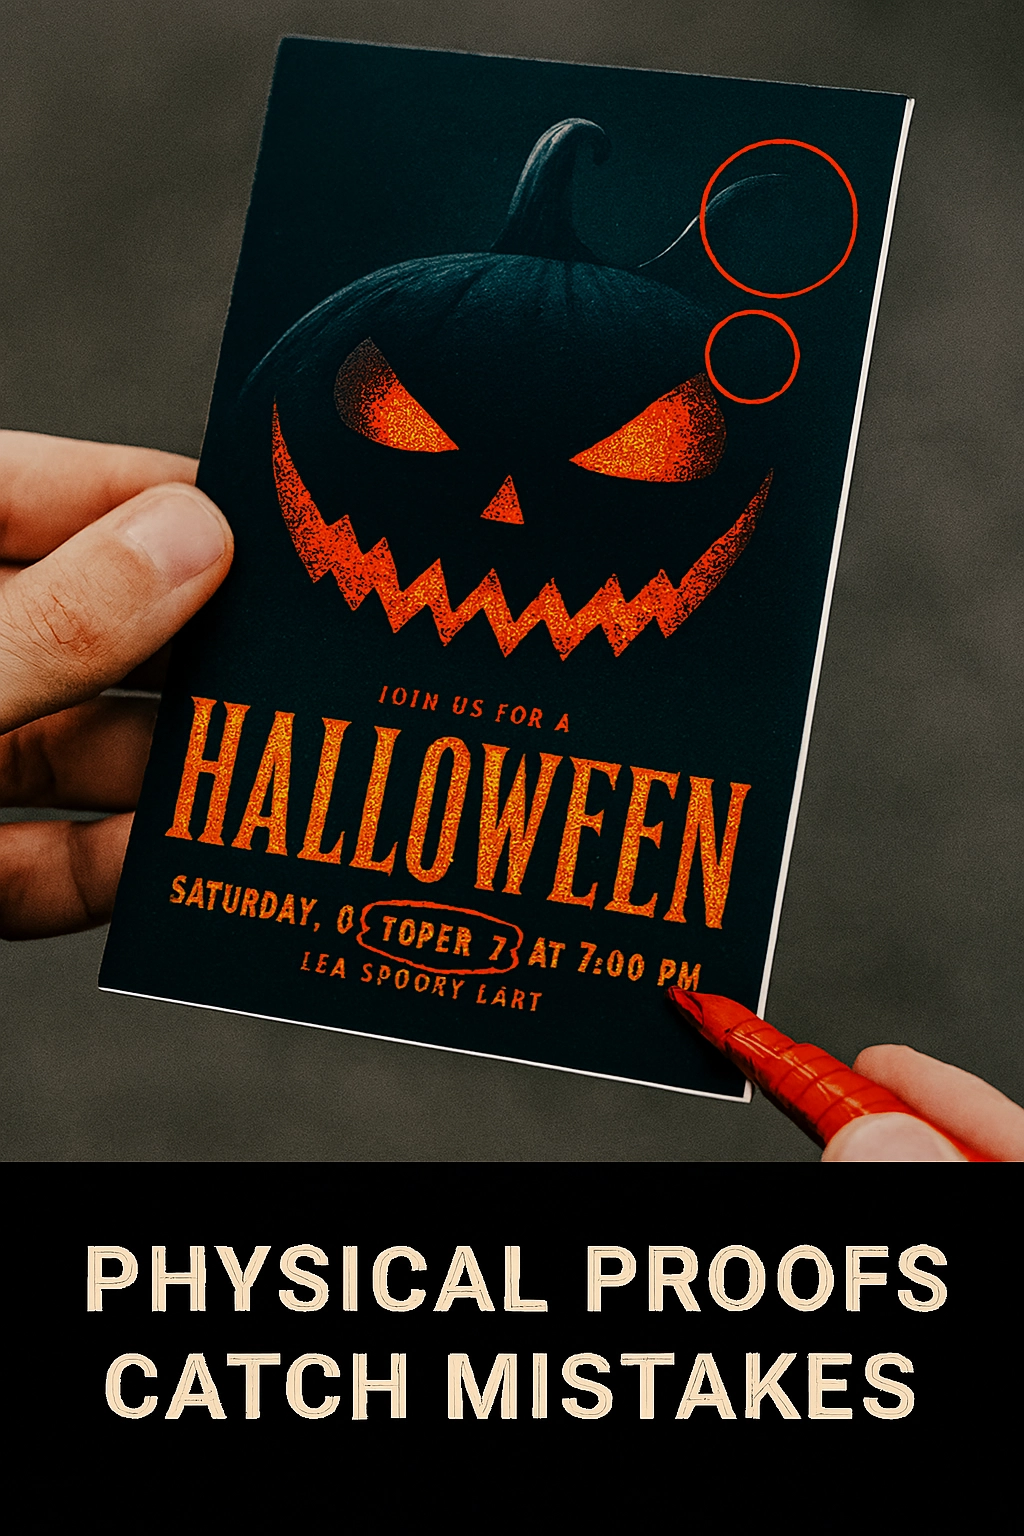
-
Spellcheck, Then Spellcheck Again: Read every word out loud. Have a friend look it over. There’s nothing spookier than realizing you invited people to a party on “Octboer 31st.”
-
The Essential Test Print: If you are printing at home, this is non-negotiable. If you’re going to a store, print a single copy first. Use the self-service kiosk to print one invite on standard paper. Check it carefully:
-
Are all the colors displaying correctly?
-
Is any critical text or artwork too close to the edge?
-
Is the bleed working, or are there white edges?
-
Is the image sharp and clear?
-
This one test sheet could save you from wasting money on 50 misprinted invitations. It’s five minutes that will save you a headache.
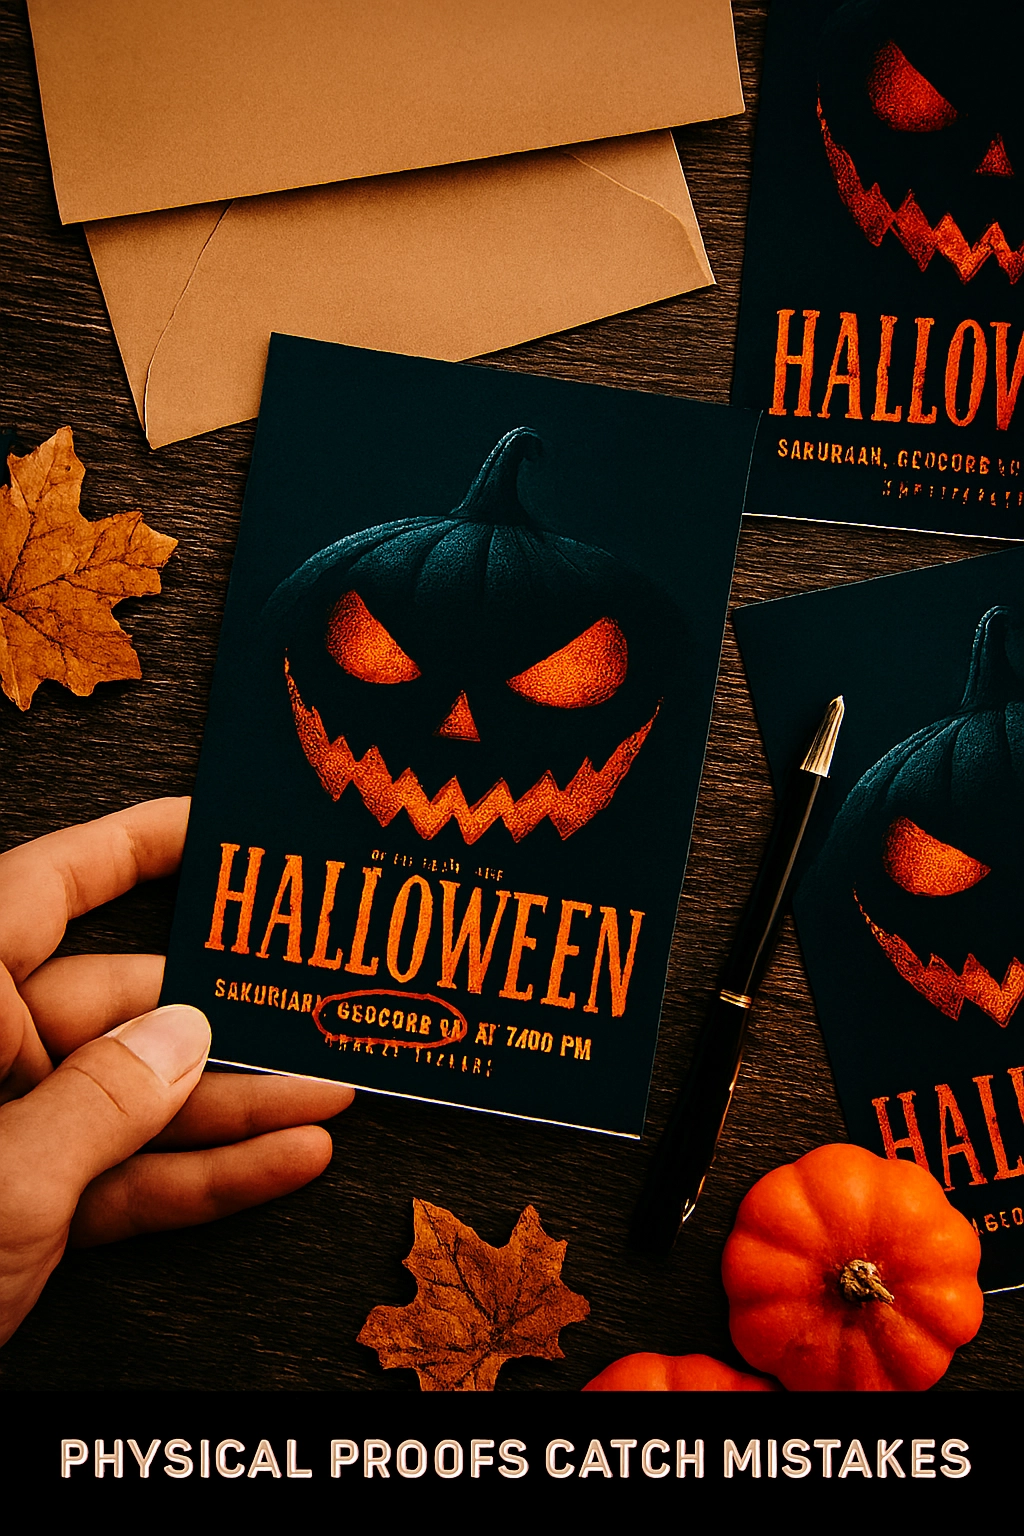
Step 4: Execution and Pickup (The Final Countdown)
You’re in the home stretch! Now it’s all about logistics.
-
Gather Your Supplies: Have your finalized PDF saved on a USB drive and accessible via email or cloud storage on your phone. Technology can be tricky, so having a backup is wise.
-
Communicate Clearly: When you arrive at the print counter, be clear and friendly. “Hi, I have a file for same-day pickup. I need 25 copies on cardstock, double-sided, trimmed to 5×7.” Confirming the details face-to-face ensures nothing gets lost in translation.
-
Do a Final Once-Over: When you get the box of freshly printed invites, take a moment to look through them. Make sure the print quality is consistent and there are no smudges or cutting errors on the entire batch.
Conclusion: Your Ticket to the Party is Ready
See? Getting professional-looking, same-day prints for your Halloween party doesn’t have to be a nightmare. By preparing your file correctly, choosing the right printing partner, and always doing a test proof, you can eliminate the stress and ensure your first glimpse of the party—the invitation—is absolutely perfect.
Now, go forth and print! Your guests are waiting for their summons to a night of spooky fun.